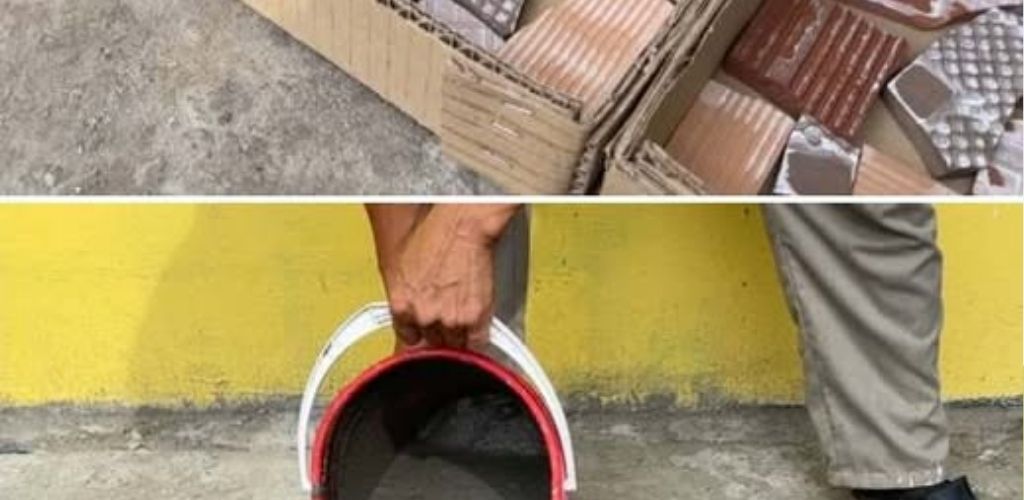
Creative Garden Hack: Turning Broken Tiles into a Stunning DIY Planter
Do you have leftover broken tiles from a recent renovation? Before you head to the trash bin, stop! Those scraps are the key to creating a magnificent, one-of-a-kind addition to your garden or patio. By combining these fragments with a simple cement-sand mortar and PVC pipes, you can craft a professional-looking planter that is both practical and stylish. This project is a favorite among savvy gardeners because it transforms waste into a durable piece of art.
Essential Materials for Your Garden Project
To get started on this “non-trivial” DIY masterpiece, gather the following supplies. Most of these are likely already in your garage or available for a few dollars at a local hardware store. Using recycled materials not only saves money but also gives your garden a unique, handcrafted character that store-bought pots simply cannot match.
Required Supplies:
- Broken ceramic or stone tiles
- 4 sturdy cardboard boxes (identical size)
- Cement and sand (or pre-mixed mortar)
- PVC pipes (various diameters)
- Primer and acrylic outdoor paint
- Waterproof varnish or sealer
- Optional: Metal mesh for reinforcement
Step 1: Creating the Decorative Tile Panels
First, prepare your four cardboard boxes. The size of the boxes will determine the final dimensions of your planter. Lay a single layer of broken tile pieces at the bottom of each box, mosaic-style. Even the smallest shards add to the aesthetic! Mix your sand and cement in a 2:1 ratio, adding water until you reach a thick, pourable consistency. Pour the mixture over the tiles. If you want a planter that lasts for decades, place a piece of metal mesh into the wet mortar before it sets to provide extra structural integrity.
Step 2: Assembling the Planter Structure
After 1 to 2 days, once the slabs have hardened, carefully peel away the cardboard. Stand the four slabs on their edges to form a square box without a bottom. Use bricks or heavy stones to prop the sides up temporarily. To join the panels, apply a thick layer of the cement-sand mortar to the inside corners. This “skeleton” forms the basis of your heavy-duty garden container, ensuring it can withstand the weight of soil and water.
Planter Assembly Specifications:
| Component | Material | Function |
| Side Panels | Tile & Cement | Decorative structure |
| Corners | PVC-molded Cement | Decorative stability |
| Base | Cast Mortar | Structural foundation |
| Drainage | Thin PVC Tubes | Prevents root rot |
Step 3: Crafting Decorative Corners and the Base
To give your planter a polished look, use PVC pipes to create rounded corner columns. Cut a “window” or notch along the length of four PVC pipes so they fit snugly against the exterior corners of your tile box. Fill these pipes with mortar and secure them with rope while they dry. For the base, fill the inside of the box with wet sand and tamp it down firmly. Pour a layer of thinner mortar over the sand to create the bottom. Don’t forget to insert two small tubes in the center to serve as drainage holes for your plants!
Final Touches: Painting and Finishing
After 24 hours, remove the PVC pipe molds and the sand from the interior. Smooth out any rough edges with sandpaper and apply a high-quality primer. Once dry, let your creativity shine with acrylic paints. You can highlight the tile mosaic or go for a solid, modern stone look. Finally, apply a layer of outdoor varnish to protect your work from the elements. This gorgeous planter costs almost nothing to make but looks like a high-end designer piece. It’s the ultimate way to recycle and beautify your outdoor space simultaneously!
Did you find this DIY garden hack useful? We love sharing creative ways to upgrade your home! Please SUBSCRIBE to our page for more daily inspiration, hit the LIKE button, and SHARE this post with your fellow gardening enthusiasts!