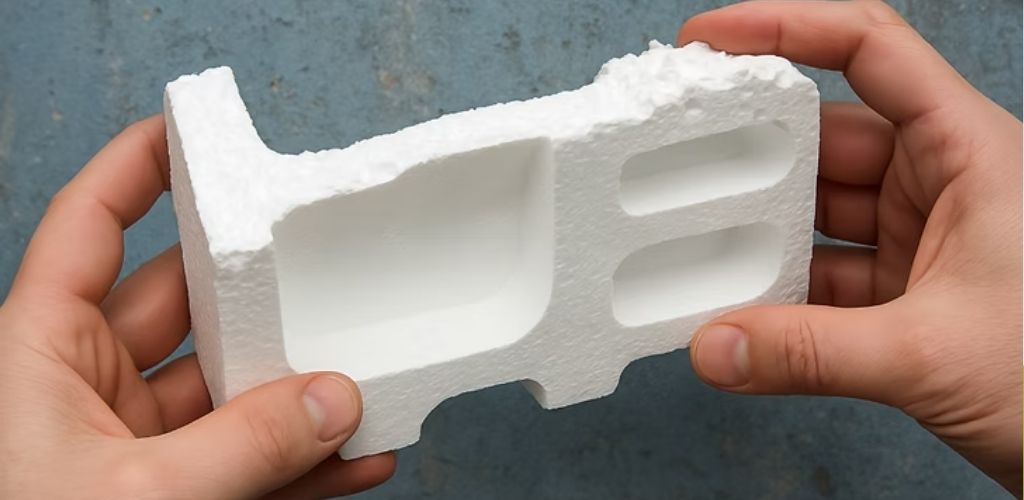
🧪 EXPERIMENT 1: Styrofoam + Thinner = High-performance waterproofing layer
🧰 Materials:
- Styrofoam or polystyrene remnants (these can be trays, containers, sheets).
- Thinner (common diluent used in paints).
- A metal or glass container.
- A spatula or wooden stick.
- Gloves and mask.
🔬 What’s happening?
Thinner acts as a solvent for expanded polystyrene. Upon contact, the polystyrene melts, forming a viscous, glue-like mixture, very similar to liquid rubber. This mixture, upon drying, leaves a plastic, adherent, and waterproof layer.
🧱 How do I use it?
- Break the Styrofoam into small pieces.
- Pour them into a container with thinner, little by little.
- Stir until a homogeneous mass is formed.
- Using a brush or spatula, apply the mixture to roofs, walls, gutters, or any surface where water enters.
- Let it air dry. In a few hours, it will form a sealing film.
✅ Advantages:
- Waterproof: does not allow water or moisture to pass through.
- Adhesive: sticks to concrete, brick, metal, etc.
- Weather resistant: withstands sun, rain, wind.
- Economical and recycled: you make use of waste.
🧪 EXPERIMENT 2: Improved mix with cement – Seal cracks like a pro!
🧰 Additional materials:
- Powdered cement (grey or white).
- The previous mixture of Styrofoam dissolved in thinner.
- Spatula or trowel.
🧬 What happens when you mix cement?
By adding powdered cement to the viscous mixture of polystyrene foam and thinner, a hybrid paste is obtained: it is flexible thanks to the plastic, but also firm and solid due to the cement. It is ideal for filling and sealing.
- Deep cracks in ceilings or walls.
- Cracks in columns, sidewalks, expansion joints.
- Repairs that require adhesion and some elasticity.
🧱 Step-by-step application:
- Once you have your viscous paste of styrofoam + thinner, gradually add cement while stirring.
- Look for a texture similar to that of thick putty.
- Apply with a spatula to the crack, pushing to ensure it penetrates well.
- Smooth the surface.
- Leave to dry for 24 hours.
🧠 Technical analysis:
- Dissolved polystyrene acts as a plastic binder.
- Cement adds firmness and mass to the mixture.
- The result is a putty with expansion capacity and weather resistance.
- It does not crack as easily as pure cement.
⚠️ Precautions:
- Wear gloves, a mask, and work outdoors: thinner has toxic fumes.
- Do not make these mixtures near fire or heat sources: they are flammable.
- Use sturdy containers (glass or metal), never plastic, as thinner dissolves them.
These two homemade mixtures not only utilize recycled materials, but are also highly effective for repair and waterproofing tasks. While the first experiment provides a durable waterproof layer, the second adds structure and sealing capabilities.
🔧 Ideal for:
- Repairs to leaky roofs.
- Cracks in walls or slabs.
- DIY projects at home on a low budget.