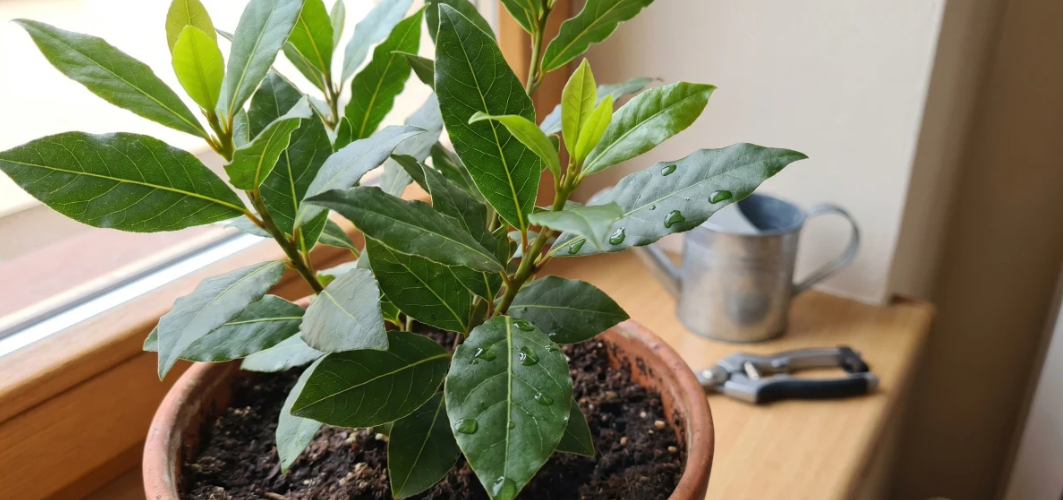
Growing bay leaves at home is easier than it seems if you give the laurel light, permeable soil, and cold wintering. Fresh leaves are significantly aromatic and with proper care one plant can serve in the kitchen for many years.
Most people know bay leaf only as dried leaves from a bag. It is enough to smell a fresh laurel leaf once and the difference is immediately clear.
Noble laurel is an evergreen thermophilic woody plant that can be grown in a pot on a balcony, terrace, and at a bright window. In our conditions, however, it needs protection from frost.
Why growing bay leaves at home pays off
Growing bay leaves at home has the great advantage of freshness. You tear the leaf directly from the plant, use it in soup, sauce, broth, or pickled vegetables and the aroma is much fuller.
Laurel also acts decoratively. It has firm shiny leaves, tolerates shaping well and in a pot it can look like a small tree.
It is not a plant for quick harvest in a few weeks. If you create suitable conditions for it, however, it will grow slowly, reliably and last many seasons.
Laurel is not frost-resistant like ordinary shrubs
The most important rule is: noble laurel cannot safely overwinter in the open ground in our gardens. A short weak frost can survive, but longer frosty periods seriously damage it.
Therefore, it is most practical to grow it in a container. In summer it can be outside on a balcony or terrace, but in autumn bring it to a cool bright room.
Wintering is key. Laurel is evergreen, so it needs light even in winter, but at the same time it requires rest at lower temperature.
How proper wintering should look
The best winter temperature is approximately five to ten degrees Celsius. A bright hallway, unheated winter garden, cool veranda or bright garage without frost is suitable.
In a warm living room laurel often suffers. It has little light, dry air and the plant exhausts itself, although it should rest.
During winter water very sparingly. The substrate must not dry completely to dust, but waterlogging in cold is the fastest way to root rot.
The best place during summer
From spring to autumn laurel likes a bright place. Sun or mild partial shade suits it, ideally protected from strong wind.
If you take it out after winter, do not put it immediately into direct sun. The leaves need to get used to it, otherwise they can burn.
Leave it in partial shade for the first days and only then gradually move it to a sunnier place. This simple step prevents unnecessary leaf damage.
What soil laurel needs
Laurel does not like heavy, compacted and permanently wet soil. The best is permeable soil with neutral to slightly alkaline reaction.
You can mix the substrate from garden soil, compost and sand or perlite. It is important that water after watering drains and does not stand at the roots.
Put a drainage layer at the bottom of the pot. You can use expanded clay, small stones or shards from a broken pot.
The pot must have drainage holes
Never grow laurel in a pot without drainage. Water that remains at the roots causes leaf yellowing and root rot.
Choose a sturdy pot with holes at the bottom. The plant grows slowly, so it does not need a huge container immediately.
Repot it gradually, always only into a slightly larger pot. Too much wet substrate around small roots increases the risk of overwatering.
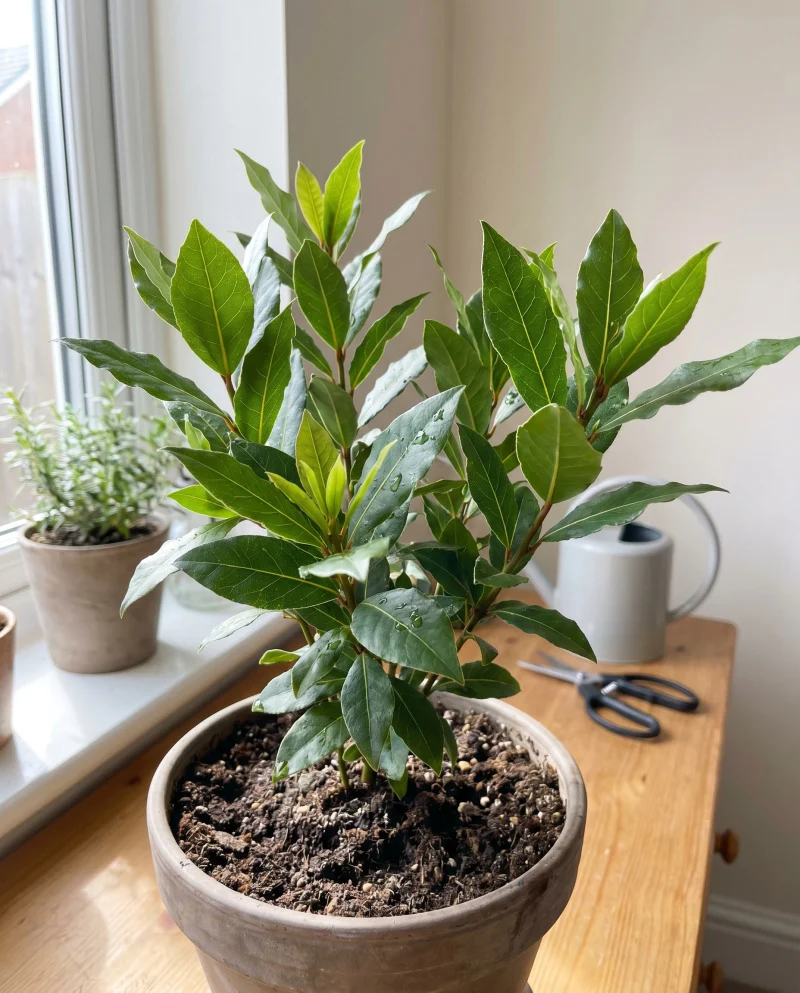
Growing from seeds takes a long time
Laurel can also be grown from seeds, but you need to count on slow germination. Seeds can germinate for several weeks to months.
They need warmth, moist permeable substrate and patience. With older seeds germination is weaker, so buy the freshest possible.
If you want a faster result, cuttings are a better way. It is precisely cutting that is more practical for home growers.
How to propagate laurel from cuttings
Cuttings are best taken from April to August when the plant is actively growing. Choose a healthy, vigorous and undamaged shoot.
The cutting should have approximately six to nine centimeters and at least two internodes. Make the lower cut oblique so it has a larger area for root formation.
Remove the lower leaves and you can shorten the upper ones by half. The plant then loses less water until it forms roots.
Preparation of cuttings before planting
You can soak cuttings overnight in water. In the morning take them out, dip the lower part in rooting preparation and plant in light substrate.
A mixture of peat, perlite, sand or vermiculite is suitable for rooting. The substrate should be airy and mildly moist, not waterlogged.
Plant the cuttings approximately two centimeters deep. After planting gently water them and place the container in a warm place without direct sun.
Foil helps maintain moisture
You can cover the pot with transparent foil or a plastic bag. This way you create a small moist environment that helps the cuttings not dry out.
Uncover the foil every day for a while. Ventilation is important so mold does not form and the cuttings do not start to rot.
The ideal temperature for rooting is approximately twenty-two to twenty-six degrees. Moisten the soil only when the surface starts to dry.
Watering is the most common mistake
Laurel tolerates short drying better than permanent waterlogging. Especially in a pot overwatering is a more common problem than drought.
During summer water regularly, but only when the top layer of substrate dries. In heat check the pot more often.
In winter significantly limit water. A cold plant grows slowly and cannot consume much water.
Fertilizing must be moderate
Laurel does not need strong fertilizing. From spring to summer a weaker dose of fertilizer for herbs or Mediterranean plants every few weeks is enough.
Do not fertilize in autumn and winter. The plant should rest and new soft shoots would suffer in weak light.
If you use compost, add it only in a small amount to the top layer of substrate. Too nutritious and wet soil can promote root diseases.
Harvest leaves carefully
Harvest leaves only from a well-rooted and strong plant. Do not strip a young laurel too much, it needs leaves for growth.
Older firm leaves are the best. You can use them fresh or dry them in a shady airy place.
In cooking a little is enough. Fresh bay leaf is usually more aromatic than bought dried, so dose carefully.
Pruning keeps a nice shape
Laurel tolerates cutting well and can be shaped as a bush or small tree. Prune mainly in spring or during summer when the plant is actively growing.
Remove weak, damaged or too long shoots. Cutting supports denser growth and the plant will be more compact.
Do not cut strongly just before winter. New shoots would not have time to ripen and would be more sensitive in wintering.
Most common problems when growing
- Yellow leaves often mean overwatering or poor water drainage.
- Dry leaf ends may relate to dry air or irregular watering.
- Leaf drop after bringing inside may be a reaction to change of light and temperature.
- Sticky leaves may indicate pests, especially scale insects or aphids.
- Slow growth is normal with laurel, especially in cooler periods.
When to repot the plant
Repot laurel when roots overgrow the pot or the substrate stops holding structure well. Young plants may need repotting more often, older ones only once every few years.
The best time is spring. The plant then has the whole season to renew roots and grow.
After repotting do not fertilize immediately. Give laurel a few weeks so it recovers and starts growing actively again.
Home bay leaf needs patience
Growing bay leaves at home is not difficult if you understand its basic needs. Laurel wants light, permeable substrate, careful watering and especially cool bright wintering.
You will get to your own plant the fastest through a cutting, although seeds also have their charm. Once laurel takes hold, it will reward you with firm aromatic leaves that turn ordinary cooking into a more fragrant home ritual.