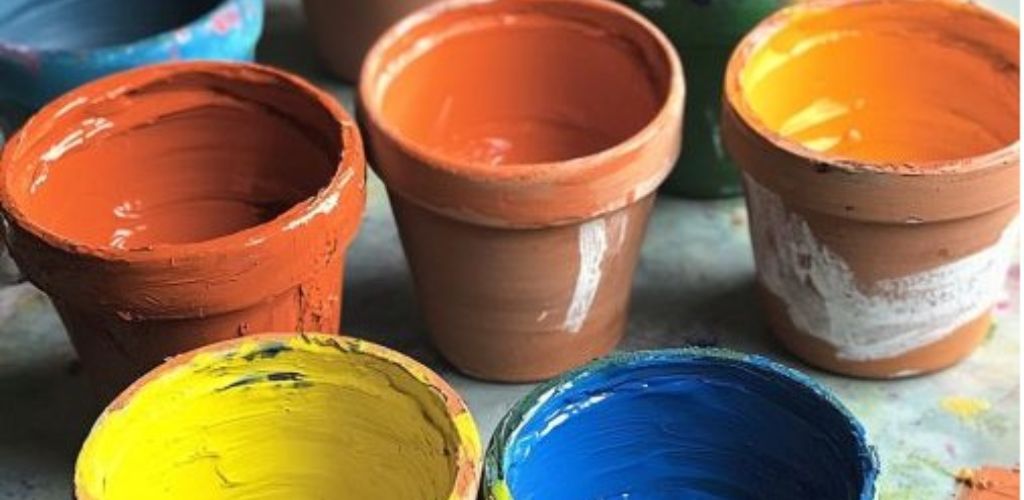
Transform your ordinary terra cotta pots into stunning pieces of art that will make your plants the envy of all your friends.
With just a few materials and a splash of creativity, you can elevate the look of your home or garden. This DIY project is perfect for anyone looking to add a personal touch to their plant displays, making them not only functional but also a statement piece in your decor.
These vibrant painted pots can be styled in various ways to complement your interior design. For a modern look, choose bold geometric patterns and bright colors to create a striking contrast against neutral walls.
If your style leans more towards bohemian, opt for earthy tones and intricate designs to add warmth and texture to your space. Group different sizes together on a windowsill or use them as a centerpiece on a dining table to draw attention and add a pop of color.
Painted Terra Cotta Pots
Materials
Terra cotta pots (any size)
Acrylic paints (various colors)
Paintbrushes (small and medium sizes)
Painter’s tape
Clear acrylic sealer spray
Sandpaper (fine grit)
Palette or paper plate for mixing paints
Water cup for rinsing brushes
Old newspaper or drop cloth
Directions
directions
Start by cleaning your terra cotta pots with a damp cloth to remove any dust or dirt. Allow them to dry completely.
Use fine-grit sandpaper to lightly sand the surface of the pots. This will help the paint adhere better.
Lay down old newspaper or a drop cloth to protect your work surface.
Decide on your design. Use painter’s tape to create clean lines or sections if you plan to have distinct patterns or stripes.
Pour your chosen acrylic paints onto a palette or paper plate. Mix colors if desired to achieve the perfect shade.
Begin painting your pots using small and medium brushes. Apply a base coat first, then add details or patterns once the base is dry.
Allow the paint to dry completely between coats.
This may take a few hours depending on the thickness of the paint.
Once you’re satisfied with the design and the paint is fully dry, apply a clear acrylic sealer spray to protect the paint from chipping and to make the pots water-resistant.
Let the sealer dry according to the manufacturer’s instructions before handling or planting in the pots.
Variations & Tips
For a unique twist, consider using metallic paints or adding gold leaf accents for a touch of luxury. You can also experiment with different techniques such as sponge painting for a textured effect or stenciling for precise designs.
If you prefer a more natural look, try using earthy tones and organic patterns inspired by nature. Remember to have fun and let your creativity shine through in your designs. These pots also make great personalized gifts for friends and family.