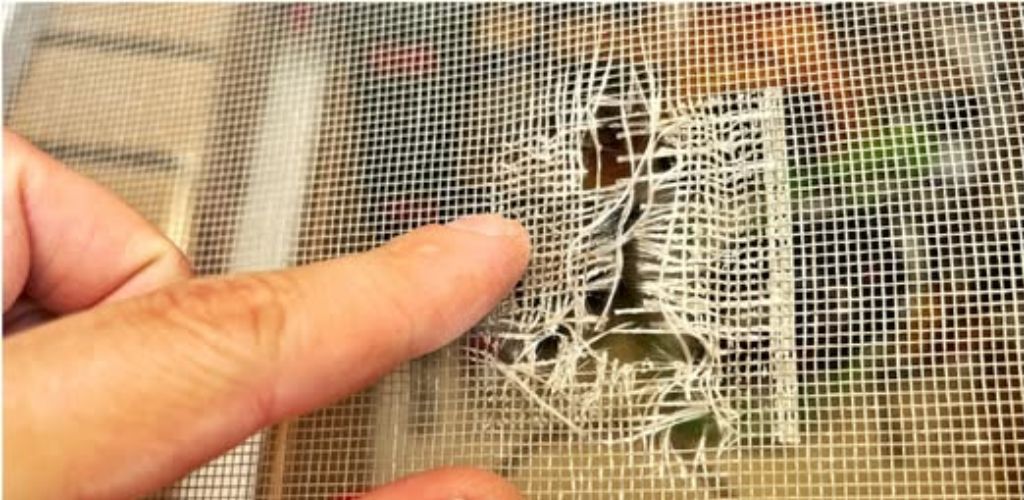
Recently I faced the need to repair a mosquito net; old methods, such as using reinforced tape, no longer worked: the tape did not hold, and also did not allow air to pass through well.

Obviously, this approach is not suitable for a mosquito net with large gaps, since its main function – air permeability – is lost.

I was able to easily remove the old, poorly held patch, and now I was faced with the task of installing a new one that would not interfere with air permeability.

In this article I will tell you how you can quickly and inexpensively repair a mosquito net, and this method is within everyone’s power.
The first thing I did was remove the damaged edges of the mesh, for which I used small side cutters – this is faster and more convenient than regular scissors.

Then I cut a rectangle out of the mesh and started repairing it.

To seal the hole, you can use a serpyanka, which can be purchased at a hardware store at an affordable price.
I recommend using self-adhesive serpyanka, since it already has an adhesive layer, and you will not need to use additional glue.
We make the patch 10-15 mm larger than the hole itself so that the patch holds more securely.
For my purposes, two strips of serpyanka were enough.
To make small cells, it is enough to put one strip on top of another with a small overlap.

In my case, too fine a mesh is not required, since large insects such as wasps have already managed to penetrate through the old mesh that was poorly taped.

For reliable fastening, I glued the serpyanka to both sides of the mesh, placed a hard base underneath them and pressed it well.

Now the mosquito net is repaired and ready for use.
It looks neat and much better than with the old tape, which did little.
Serpyanka provides good air permeability and is securely held by glue.

It would be possible to replace the mesh with a new one, but I preferred not to waste much time and chose a simpler and more accessible repair method.
If you have other methods, share them in the comments.