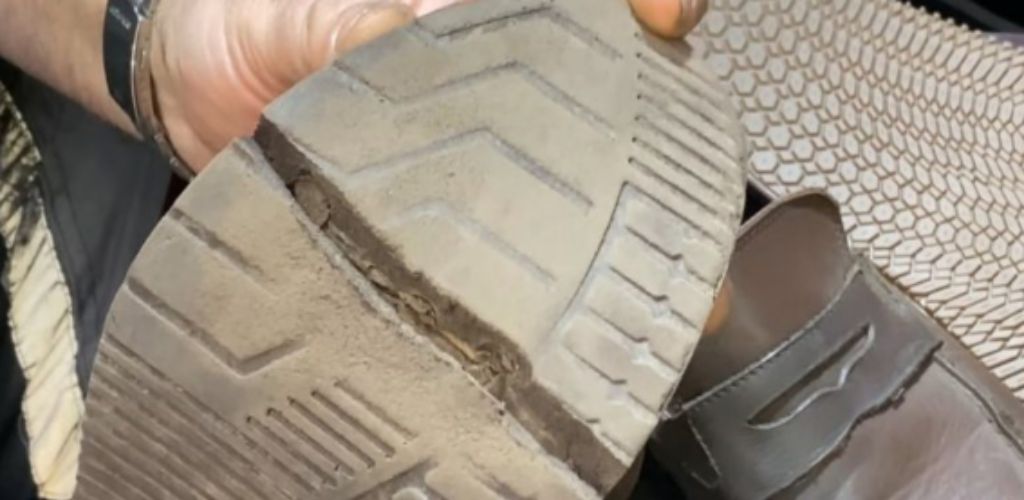
Often people face the problem of a broken sole, which requires contacting shoemakers and quite high repair costs.

Because of this, many people prefer to simply throw away their shoes instead of repairing them.
However, you can do the repair yourself using SUPER STRONG – molecular glue and a rubber-based adhesive.
To begin, apply glue to the fracture site, stopping 5 mm from the top edge, and press the fracture tightly.
The glue will quickly fix the sole. Then leave the shoes for 30-40 minutes to let the glue dry.

Next, smooth the sole surface with sandpaper.
This will prepare the sole for gluing the insole, and also sand the surface of the insole.

Afterwards, you need to apply glue to the sole and the footprint, leave it for 40 minutes, and then apply the 2nd layer and leave it for another 20 minutes.
To glue the sole and the foot, the temperature should be around 50-60 degrees, for which you can use a hair dryer.

After gluing these parts, you need to leave the shoes for at least 4 hours.

Then, you can cut off the protruding part of the footprint and sand the edges so that the sole looks neater.

After such repair, the shoes will be able to serve for several more years, which makes it a more profitable option than buying a new pair.
