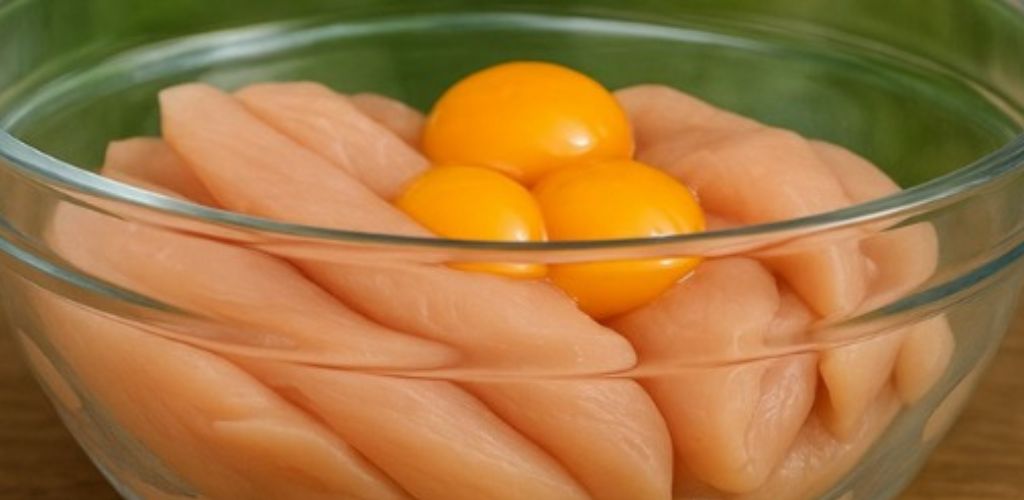
There’s nothing quite like Grandma’s crispy chicken strips —a timeless classic that brings back memories of family dinners, Sunday lunches, and cozy kitchen moments. These golden, juicy strips are coated in a perfectly seasoned, crunchy breading that’s impossible to resist.
Whether you’re serving them as a main dish, appetizer, or snack, this recipe is simple, foolproof, and packed with nostalgia. Let’s fry up some crispy goodness and bring Grandma’s love to your table!
Why You’ll Love This Recipe
- Crispy & Juicy: A tender interior wrapped in a golden, crunchy coating.
- Nostalgic Comfort Food: Just like Grandma used to make—simple, hearty, and delicious.
- Kid-Friendly: Always a hit with kids (and adults too!).
- Versatile: Serve as a main dish, appetizer, or sandwich filling.
Ingredients You’ll Need
For the Chicken Strips:
- 1 lb boneless, skinless chicken breasts or tenders, cut into strips
- 1 cup all-purpose flour
- 2 large eggs, beaten
- 1 cup breadcrumbs (panko for extra crunch or regular for classic texture)
- 1 tsp garlic powder
- 1 tsp paprika
- 1 tsp onion powder
- 1/2 tsp salt
- 1/4 tsp black pepper
- Optional: 1/4 tsp cayenne pepper for a spicy kick
For Frying:
- Vegetable oil, peanut oil, or canola oil (enough for deep frying or pan-frying)
For Serving:
- Your favorite dipping sauces (honey mustard, BBQ sauce, ranch, etc.)
- Lemon wedges (optional, for a fresh touch)
Step-by-Step Instructions
1. Prepare the Breading Station
- Set up a breading station with three shallow bowls:
- Bowl 1: Flour mixed with garlic powder, paprika, onion powder, salt, and pepper.
- Bowl 2: Beaten eggs.
- Bowl 3: Breadcrumbs.
- Pat the chicken strips dry with paper towels to ensure maximum crispiness.
2. Bread the Chicken Strips
- Dredge each chicken strip in the seasoned flour, shaking off any excess.
- Dip the floured strip into the beaten eggs, ensuring it’s fully coated.
- Roll the strip in the breadcrumbs, pressing gently to adhere the coating evenly.
- Place the breaded strips on a plate or baking sheet while you finish the rest.
5. Keep Warm
- If frying in batches, transfer the cooked strips to a baking sheet and keep them warm in a 200°F (95°C) oven while you finish frying the rest.
6. Serve and Enjoy
- Serve the crispy chicken strips hot with your favorite dipping sauces, lemon wedges, or as part of a larger meal.
- Optional: Garnish with fresh parsley for a pop of color.
Serving Suggestions
- As a Main Dish: Pair with mashed potatoes, coleslaw, or roasted veggies for a hearty meal.
- For Appetizers: Cut the strips into bite-sized pieces and serve with dipping sauces at parties or gatherings.
- In Sandwiches: Tuck the strips into a bun with lettuce, tomato, and mayo for a crispy chicken sandwich.
- At Brunch: Serve alongside waffles or pancakes for a savory-sweet twist.
Pro Tips for Success
- Double Coat for Extra Crispiness: After the first round of breading, dip the strips back into the egg and breadcrumbs for an ultra-crunchy coating.
- Use Panko Breadcrumbs: For a lighter, crispier texture, swap regular breadcrumbs with panko.
- Don’t Overcrowd the Pan: Frying in batches ensures even cooking and prevents the oil temperature from dropping too low.
- Bake Option: For a healthier version, bake the strips on a greased baking sheet at 400°F (200°C) for 15–20 minutes, flipping halfway through.
Final Thoughts
These Crispy Chicken Strips are a testament to the magic of simple, homemade recipes.
With their golden crunch, juicy interior, and nostalgic flavors, they’re a reminder of the comfort and joy that Grandma’s cooking brings to the table.
So grab your ingredients, set up your breading station, and fry up these golden strips of goodness. One bite of these crispy, flavorful morsels, and you’ll feel like you’ve been transported back to Grandma’s kitchen—where love and flavor reign supreme! 🍗