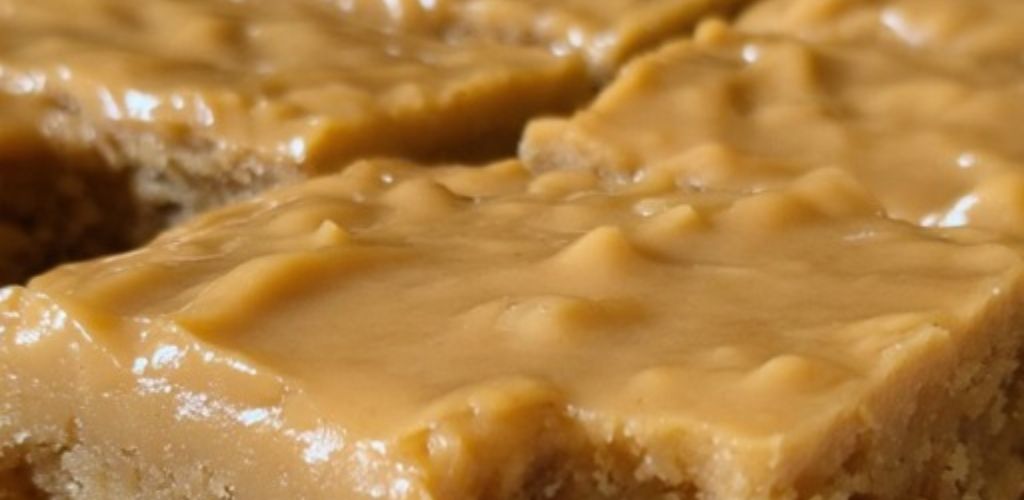
These Peanut Butter Lunch Lady Bars are a nostalgic nod to the classic school cafeteria treat, but with a homemade twist that’s even better than you remember. With layers of creamy peanut butter, rich chocolate, and crispy cereal or oats, these bars are soft, chewy, and packed with flavor.
They’re perfect for lunchboxes, snack time, or as a sweet treat to share with friends and family. Let’s bring back this childhood favorite with a homemade upgrade!
Why You’ll Love This Recipe
- Simple Ingredients: Made with pantry staples like peanut butter, chocolate, and cereal.
- No-Bake Option: Many versions require no baking—just mix, press, and chill.
- Customizable: Swap ingredients to suit your taste (e.g., use crunchy peanut butter or dark chocolate).
- Perfect for Sharing: Great for potlucks, bake sales, or gifting.
Ingredients You’ll Need
For the Peanut Butter Layer:
- 1 cup creamy peanut butter (or substitute almond butter for a nut-free option)
- 1/2 cup unsalted butter
- 2 cups confectioners’ sugar
- 1 tsp vanilla extract
- 2 1/2 cups crispy rice cereal (like Rice Krispies) or quick-cooking oats
For the Chocolate Layer:
- 1 cup semisweet chocolate chips
- 2 tbsp unsalted butter
Step-by-Step Instructions
1. Make the Peanut Butter Layer
- In a medium saucepan over low heat, melt the peanut butter and butter together, stirring until smooth.
- Remove from heat and stir in the confectioners’ sugar and vanilla extract until fully combined.
- Fold in the crispy rice cereal or oats until evenly coated with the peanut butter mixture.
- Press the mixture firmly into an 8×8-inch baking pan lined with parchment paper or lightly greased.
2. Make the Chocolate Layer
- In a small saucepan over low heat, melt the chocolate chips and butter together, stirring until smooth.
- Pour the melted chocolate over the peanut butter layer in the pan.
- Use a spatula to spread the chocolate evenly across the top.
3. Chill the Bars
- Place the pan in the refrigerator for at least 1–2 hours, or until the chocolate is set and the bars are firm.
- Once chilled, lift the bars out of the pan using the parchment paper and cut them into squares or rectangles.
4. Serve and Enjoy
- Store the bars in an airtight container in the refrigerator for up to 1 week.
- Serve chilled or at room temperature. Enjoy the perfect balance of creamy peanut butter and rich chocolate!
Serving Suggestions
- For Breakfast: Pair with a glass of milk or coffee for a quick, satisfying start to the day.
- Lunchbox Treat: Wrap individual bars in parchment paper for a portable snack.
- Party Dessert: Cut into bite-sized pieces for an easy, crowd-pleasing dessert.
- Gift Idea: Package in decorative tins or bags for homemade holiday gifts.
Pro Tips for Success
- Use High-Quality Ingredients: Opt for natural peanut butter and high-quality chocolate for the best flavor.
- Press Firmly: Press the peanut butter layer firmly into the pan to ensure the bars hold together when cut.
- Experiment with Toppings: Sprinkle crushed peanuts, sprinkles, or sea salt on top of the chocolate layer before chilling for added texture and flair.
- Make It Nut-Free: Substitute sunflower seed butter or soy butter for peanut butter to accommodate nut allergies.
Final Thoughts
These Peanut Butter Lunch Lady Bars are the ultimate comfort treat—soft, chewy, and loaded with peanut butter and chocolate goodness.
Whether you’re reliving childhood memories or introducing this classic to a new generation, these bars are sure to become a household favorite.
So grab your ingredients, mix up this no-fuss recipe, and indulge in the nostalgia of these irresistible bars. One bite of their creamy, chocolatey perfection, and you’ll understand why they’re a timeless treat! 🥜🍫