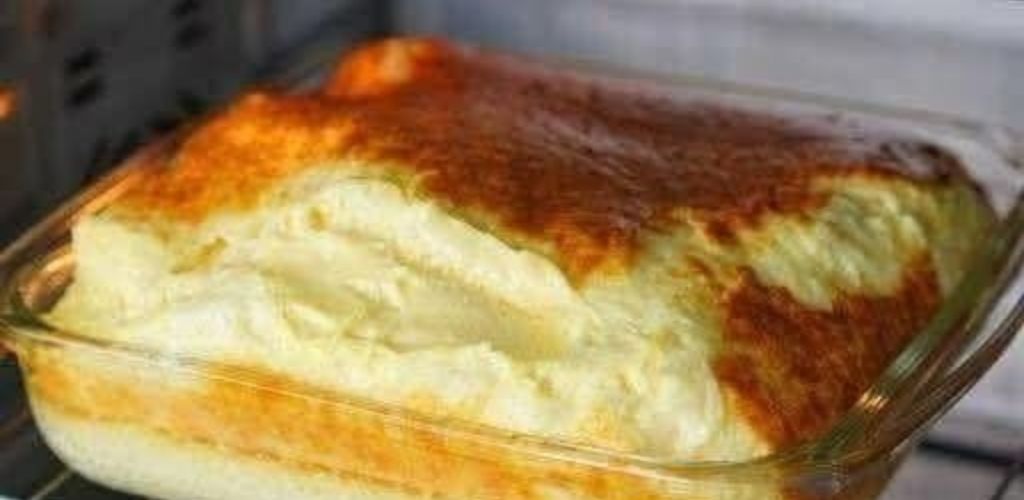
There’s something truly magical about a cake that bakes into distinct layers without any extra effort. The Magic Custard Cake is a delightful dessert where a golden custard layer forms naturally beneath a soft, fluffy cake top—no complicated techniques required! Whether you’re hosting a special occasion or simply craving something sweet, this recipe promises to impress with its simplicity and stunning results.
Let’s dive into how to create this enchanting treat step by step!
Magic Custard Cake: A Layered Dessert That’ll Leave You Spellbound 🧡✨
This Magic Custard Cake combines a creamy, dreamy custard base with a light sponge cake layer for a dessert that feels like pure magic. As it bakes, the batter separates effortlessly into two distinct layers—one rich and custardy, the other tender and buttery. It’s as easy as mixing ingredients and letting the oven do the rest!
So grab your mixing bowls and let’s conjure up some baking magic!
Why You’ll Love This Recipe
- No Extra Steps : The layers form automatically during baking—no piping or layering needed!
- Simple Ingredients : Uses basic pantry staples you likely already have on hand.
- Versatile : Serve plain, dusted with powdered sugar, or topped with fresh fruit, whipped cream, or caramel sauce.
- Impressive Results : Looks like it came from a bakery but requires no advanced skills.
Ingredients (Serves 8–10)
For the Cake:
- ½ cup unsalted butter, melted
- 1 cup granulated sugar
- 2 large eggs
- 1 tsp vanilla extract
- 1 cup all-purpose flour
- 1 tsp baking powder
- ¼ tsp salt
For the Custard:
- 3 large eggs
- 1 cup whole milk (or half-and-half for richness)
- ½ cup granulated sugar
- 1 tbsp all-purpose flour
- 1 tsp vanilla extract
- Pinch of salt
Instructions
Step 1: Preheat the Oven
Preheat your oven to 350°F (175°C). Grease an 8×8-inch square baking pan or line it with parchment paper.
Step 2: Prepare the Cake Batter
- In a medium mixing bowl, whisk together the melted butter, sugar, eggs, and vanilla extract until smooth.
- Sift in the flour, baking powder, and salt. Stir gently until just combined—be careful not to overmix!
Step 3: Prepare the Custard Mixture
- In a separate bowl, whisk together the eggs, milk, sugar, flour, vanilla extract, and pinch of salt until completely smooth.
- Pour the custard mixture evenly into the prepared baking pan.
Step 4: Add the Cake Batter
Carefully spoon the cake batter over the custard mixture. Do not stir or mix the two layers together—this is what creates the “magic” separation during baking!
Step 5: Bake Until Golden
Bake in the preheated oven for 40–45 minutes, or until the cake layer is golden brown and a toothpick inserted into the center comes out clean. Rotate the pan halfway through baking for even cooking.
Step 6: Cool & Serve
Allow the cake to cool in the pan for at least 15–20 minutes before slicing. Dust with powdered sugar, add fresh berries, or drizzle with caramel sauce for extra flair.
Tips for Success
- Don’t Mix Layers : Resist the urge to combine the cake and custard mixtures—their densities ensure they separate beautifully while baking.
- Use Room-Temperature Eggs : Warm eggs blend more smoothly into both the cake and custard batters.
- Adjust Sweetness : If you prefer less sweet desserts, reduce the sugar slightly in either layer.
- Make It Gluten-Free : Swap all-purpose flour for a gluten-free blend in both layers for a dietary-friendly option.
Serving Suggestions
This Magic Custard Cake pairs beautifully with:
- Coffee or Tea : Enjoy a slice alongside your morning brew or afternoon tea.
- Ice Cream : Top warm slices with vanilla or caramel ice cream for added indulgence.
- Fresh Fruit : Garnish with sliced strawberries, blueberries, or peaches for a pop of color and flavor.
- Special Occasions : Serve as a unique birthday or holiday dessert for a touch of whimsy.
Final Thoughts
The Magic Custard Cake proves that sometimes the simplest recipes yield the most impressive results. With its self-forming layers and irresistible flavors, this dessert is sure to leave guests marveling—and asking for seconds.
Whether baked for family dinners or shared at gatherings, this magical creation will become a go-to favorite in your kitchen. So gather your ingredients, fire up the oven, and prepare to cast a spell of sweetness on everyone who takes a bite!
Let us know how yours turns out by sharing photos or comments below. Happy baking—and happy eati