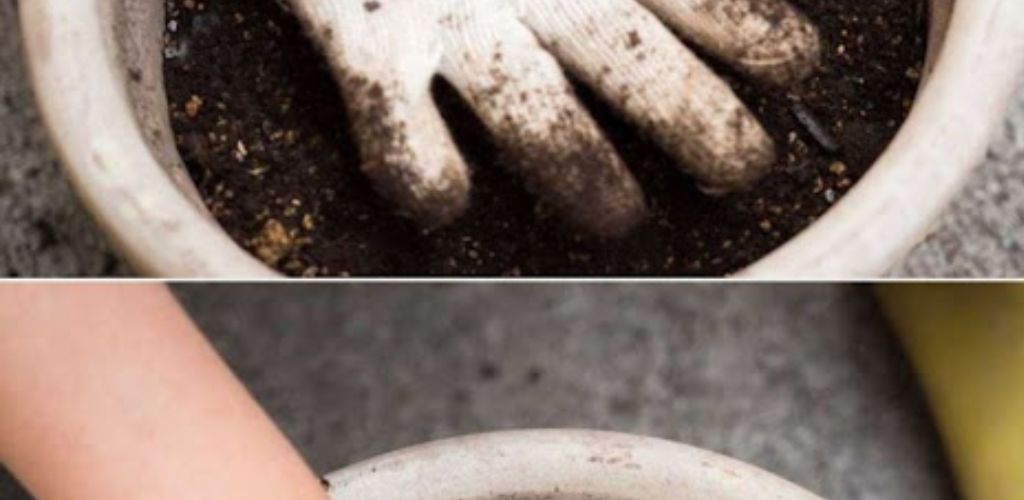
Why Reusing Old Potting Soil Matters
- Reduces Waste : Millions of tons of soil and gardening materials end up in landfills each year. Reusing soil helps minimize this environmental impact.
- Cost-Effective : Buying fresh potting mix every season can add up. Revitalizing old soil saves money without compromising plant health.
- Resource Conservation : Producing new potting soil requires energy, water, and raw materials. Reusing soil conserves these resources.
- Improved Soil Health : With proper rejuvenation, old soil can be just as nutrient-rich and effective as new soil.
Steps to Rejuvenate Old Potting Soil
Step 1: Inspect the Soil
- Check for Pests and Diseases : Look for signs of pests (like larvae or eggs) or diseases (mold, fungus, or unpleasant odors). If the soil is infested or contaminated, it’s best to dispose of it responsibly rather than risk spreading issues to new plants.
- Assess Texture and Structure : Over time, potting soil can compact or lose its porous structure. Break up clumps and remove debris like roots, leaves, or rocks.
Step 2: Sterilize the Soil
- Bake It (Oven Method) : Spread the soil evenly on a baking tray and bake it in the oven at 180–200°F (82–93°C) for about 30 minutes. This kills pathogens, weed seeds, and pests. Be sure to ventilate your kitchen, as the process can produce an earthy smell.
- Solarize It : Place the soil in a black plastic bag or container and leave it in direct sunlight for 4–6 weeks. The heat will naturally sterilize the soil.
Step 3: Refresh Nutrients
- Add Compost : Mix in 20–30% compost to replenish organic matter and nutrients. Compost improves soil structure, water retention, and microbial activity.
- Supplement with Fertilizer : Add a balanced slow-release fertilizer or amendments like bone meal, blood meal, or kelp powder to boost nutrient levels.
- Incorporate Perlite or Vermiculite : If the soil has become compacted, mix in perlite or vermiculite to improve drainage and aeration.
Step 4: Test and Adjust pH
- Use a soil test kit to check the pH level of your rejuvenated soil. Most plants prefer a slightly acidic to neutral pH (6.0–7.0).
- Adjust the pH if needed:
- To Lower pH (Make More Acidic) : Add sulfur or pine needles.
- To Raise pH (Make More Alkaline) : Add lime or wood ash.
Step 5: Store Properly
- If you’re not using the soil immediately, store it in a clean, airtight container to prevent contamination from pests or moisture. Label the container with the date and any amendments you’ve added.
Tips for Success
- Avoid Reusing Soil from Diseased Plants : If plants in the soil had serious fungal or bacterial infections, it’s safer to dispose of the soil to avoid spreading disease.
- Blend Old and New Soil : For best results, mix rejuvenated soil with fresh potting mix in a 50/50 ratio. This ensures optimal texture and nutrient content.
- Repurpose Soil Creatively : Even if the soil isn’t ideal for potted plants, you can use it as a base layer in raised beds, for mulching, or to fill gaps in your garden.
Benefits of Rejuvenated Soil
- Cost Savings : Reduces the need to purchase new soil every season.
- Environmental Impact : Minimizes waste and conserves natural resources.
- Customizable : Allows you to tailor the soil’s composition to meet the specific needs of your plants.
Final Thoughts
Reusing old potting soil is a sustainable practice that benefits both your wallet and the planet. By taking the time to inspect, sterilize, and refresh your soil, you can create a healthy growing medium for your plants while reducing waste and conserving resources. Whether you’re a seasoned gardener or just starting out, this eco-friendly approach to soil management is a win-win for your garden and the environment.
Your turn! Have you ever tried reusing old potting soil? Share your tips or experiences below—I’d love to hear from you! 🌿