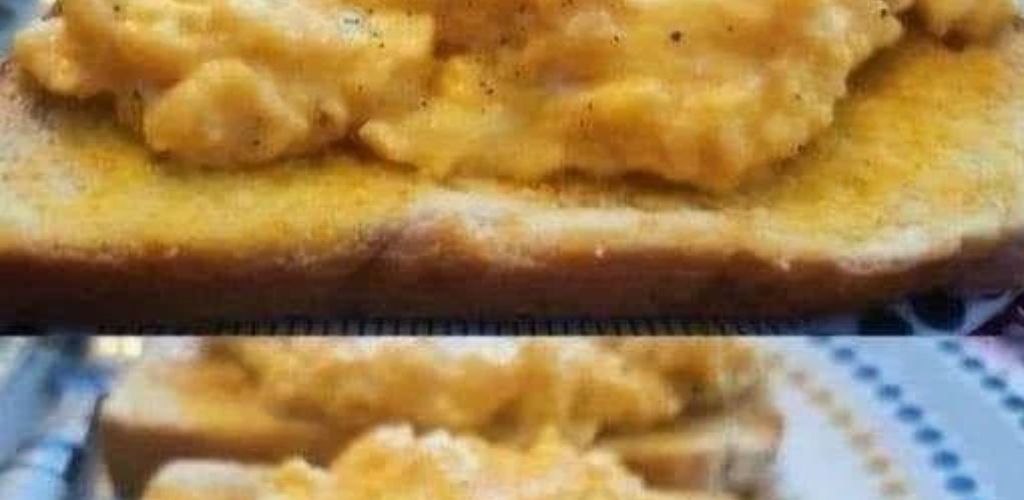
Let’s talk about the moment of truth. It’s a quiet morning. You’re hungry, maybe a little rushed, and you crack a few eggs into a bowl. What happens next is the difference between a forgettable breakfast and a small, daily luxury that feels like a culinary victory. The difference between rubbery, dry curds and soft, creamy, cloud-like perfection.
Last week, a friend watched me make breakfast and was stunned. “How do you get them like that?” she asked. “Mine are never that good.” Here’s the honest truth: perfect scrambled eggs aren’t a secret talent; they’re a simple science. It’s not about fancy ingredients or complex techniques. It’s about respecting the process, step-by-step, from the moment you take the eggs from the fridge to the second they slide onto your plate.
Whether you’re fueling a work-from-home morning with a quick bite or impressing a weekend guest, this is your foolproof blueprint. Follow this guide, and you will never make mediocre scrambled eggs again. You’ll master the art of transforming three humble ingredients—eggs, fat, and salt—into a dish that is consistently sublime.
The Golden Rule: It’s a Technique, Not a Recipe
Forget everything you know about high heat and constant scrambling. The single most important principle for creamy, tender eggs is gentle, low heat and patient stirring. High heat is the arch-nemesis of good eggs—it tightens proteins instantly, squeezing out moisture and creating that tough, bouncy texture we all want to avoid.
Your Toolkit for Perfection (No Fancy Gear Required)
- The Pan: A high-quality non-stick skillet is your best friend. It ensures easy release and cleanup. An 8-inch skillet is perfect for 2-3 eggs.
- The Utensil: A heat-resistant silicone spatula is ideal. It’s gentle on the pan and perfect for the slow, folding motion we’ll use.
- The Bowl: For thorough whisking before cooking.
The Step-by-Step Method to Flawless Eggs
This is the exact process that wowed my friend. Precision is key.
Step 1: The Strategic Whisk (Do This First!)
- Crack 2-3 large, cold eggs directly into a bowl. For extra creaminess, you can add 1 tablespoon of whole milk, cream, or a dollop of crème fraîche or sour cream per egg.
- Add a generous pinch of kosher salt right now. Science has debunked the old myth—salting early helps break down the proteins, leading to a more tender and evenly seasoned egg.
- Whisk vigorously for 30 full seconds. You’re not just mixing yolks and whites; you’re incorporating air to create a uniform, pale yellow mixture. This is the foundation.
Step 2: The Preheated Pan & The Right Fat
- Place your non-stick skillet over medium-low heat. Let it warm up for a full minute. It should be warm, not smoking hot.
- Add 1 tablespoon of unsalted butter or a neutral oil. Swirl to coat. The butter should melt and foam gently. If it sizzles violently or browns immediately, your pan is too hot—remove it from the heat for a moment.
Step 3: The Low & Slow Cook (The Critical Phase)
- Pour in your eggs. They should settle quietly, not sizzle and bubble at the edges.
- Wait 20 seconds. Let a thin layer set on the bottom.
- Now, using your spatula, push the eggs from the edges toward the center. Tilt the pan to let the uncooked, runny egg flow into the empty space.
- Repeat this gentle push-and-tilt motion every 10-15 seconds. You are forming large, soft, luxurious curds. This process should take 3-5 minutes. Patience is your secret ingredient.
Step 4: The Perfect Finish (The “Carry-Over Cook”)
- Remove the pan from the heat while the eggs still look slightly underdone. They should be wet, shiny, and soft. Remember, they will continue to cook from the residual heat in the pan.
- For ultimate luxury, fold in one last small knob of cold butter off the heat. This final enrichment (monter au beurre) adds incredible gloss and flavor.
Step 5: The Rest
- Immediately transfer the eggs to a warm plate. Let them rest for 60 seconds before eating. This allows the proteins to relax and the consistency to settle into its final, creamy state.
Pro Chef’s Secrets for Next-Level Eggs
- The Gordon Ramsay Method: For ultimate control, take the pan on and off the heat every 30 seconds during cooking. This is the master-class technique for extreme creaminess.
- The Crème Fraîche Advantage: A tablespoon stirred in at the very end adds a delightful tang and unbeatable richness.
- The “No-Dairy” Trick: Whisk 1 tablespoon of water per egg into the raw mixture. The steam created during cooking will make them light and fluffy.
- The Aromatic Touch: Cook a sprinkle of fresh chives, tarragon, or parsley in the butter for 10 seconds before adding the eggs.
Troubleshooting: Fixing Common Egg Mistakes
- My eggs are rubbery. → You used heat that was too high and/or cooked them for too long.
- I got tiny, dry curds. → You stirred too aggressively and too frequently. Use a gentler, folding motion.
- My eggs are watery. → You likely added vegetables (like tomatoes or mushrooms) directly to the raw eggs. Sauté them separately first to remove excess moisture.
- They taste bland. → You didn’t use enough salt, or you added it at the wrong time. Season in the bowl.
Gourmet Variations to Elevate Your Morning
Add these ingredients after the eggs have begun to set, not before.
- The Classic: A handful of shredded sharp cheddar or crumbled goat cheese.
- The Indulgent: Diced smoked salmon and a teaspoon of capers.
- The Hearty: Cooked, crumbled bacon or breakfast sausage.
- The Garden-Fresh: A handful of baby spinach or diced roasted peppers.
Conclusion: Your Breakfast, Mastered
Perfect scrambled eggs are a quiet testament to skill—a simple dish that speaks volumes about the care of the cook. By embracing low heat and patient technique, you claim a small but significant victory over the hurried morning. You transform a basic ingredient into something worthy of a moment’s pause and genuine enjoyment.
So tomorrow, approach the stove with confidence. Crack those eggs, grab your spatula, and cook them right—from start to finish.
Now it’s your turn! What’s your #1 tip for perfect scrambled eggs? Did trying this method change your breakfast game? Share your results and your own twists in the comments below—let’s build a community of egg aficionados!