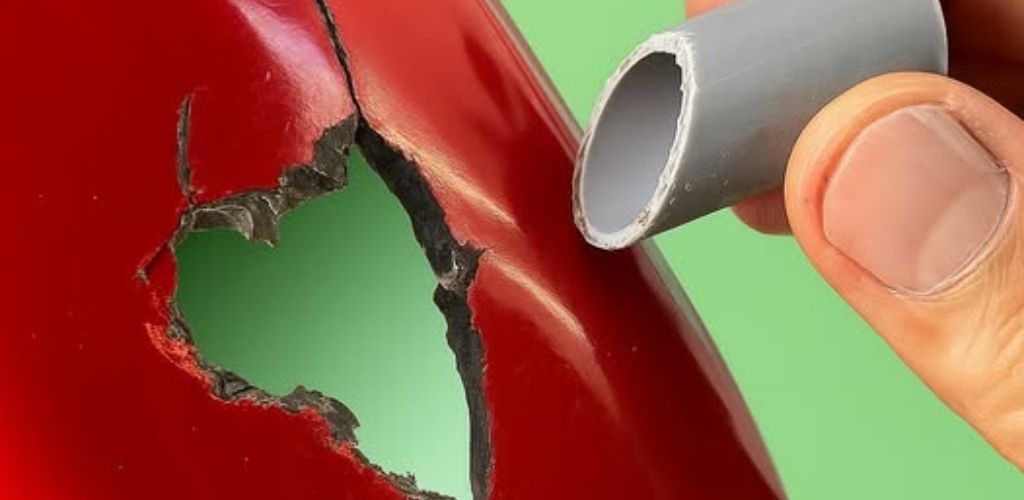
When a motorcycle’s plastic part breaks—whether it’s a fender, a side cover, or a fairing piece—most people think the only option is to replace it. However, there’s a little-known, incredibly strong, and inexpensive method that allows you to restore damaged parts to like-new condition. This technique combines plastic welding, metal reinforcement, and a professional finish, restoring both strength and aesthetic appeal to any broken part.
The following explains the procedure step by step, based on a real example of fender repair.
1. Preparation and initial reinforcement
Identifying the Damage
The first step is to assess the break. In the original video, the process begins by showing a broken fender, with separate sections that require alignment and support before welding
Cutting of the filler material
PVC pipes are used, cut into small strips. These pieces act as “filler plastic” during welding, providing new material that fuses with the original.
Stabilization with aluminum tape
To hold the parts together and prevent warping, aluminum tape is applied to the back. This tape is heat-resistant and keeps the piece stable during welding.
2. Plastic welding and structural reinforcement
Initial Melting
Using a heat tool—such as a plastic welder—the edges of the break are melted, joining the piece from the surface
Metal reinforcement
To increase the strength of the repair, a stainless steel mesh is embedded over the affected area. Heat allows the mesh to become integrated within the plastic, preventing the crack from reopening
final layer of solder
Once the mesh is in place, a new layer of molten PVC is applied. This seals the repair, fills gaps, and ensures an extremely strong bond.
Adhesive Application
To remove microcracks or surface imperfections, a high-strength adhesive is used. This prepares the piece for the sanding process and improves the final appearance
3. Professional finish and painting
Coarse sanding (80 grit)
Excess material is removed and the surface is leveled.
Intermediate sanding (320 grit)
This step smooths out the deep marks from the previous sanding and prepares the base for a fine finish.
Final sanding (600 grit)
The piece is left completely smooth and ready to paint.
Primer application
A coat of white primer is applied, which evens out the surface and improves paint adhesion
Final painting
Using spray paint in the original color (red in this example), the part is restored to its like-new appearance. The result: a fully restored fender that is solid, durable, and visually flawless.
Tips and recommendations
- Always use protection: gloves, mask, and safety glasses
- Make sure to work in a well-ventilated area when using welders or spray paint.
- Do not apply too much heat; the plastic can warp if it gets overheated.
- Stainless steel mesh is key to a lasting repair; avoid ordinary mesh that can rust.
- If you are going to paint, respect the drying times between coats for a professional finish.