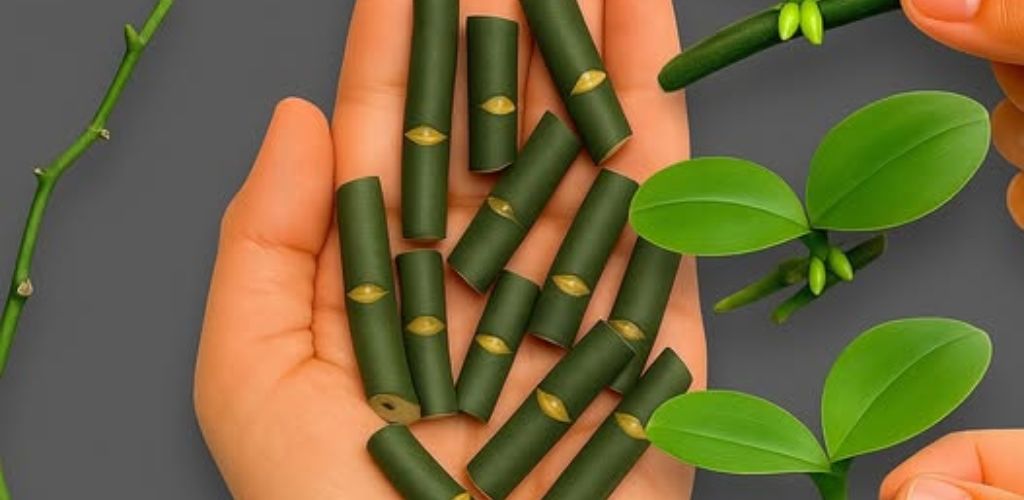
Propagating orchids may seem like a complex process, but there is a simple and effective technique that allows you to do it directly on a branch or trunk, simulating their natural environment. This practice not only facilitates rooting but also encourages prolonged and vigorous flowering throughout the year.
Materials needed
- A dry branch or trunk (preferably from a softwood tree)
- Damp sphagnum moss
- Jute twine, raffia, or natural rope
- Scissors or a clean, sharp knife
- Orchid cuttings (preferably with visible roots)
- Water sprayer
- Cinnamon powder (optional, as a natural antifungal)
Step-by-step procedure
1. Preparation of the support
- Choose a branch or trunk about 30 to 50 cm long.
- Make sure it is clean, without mold or excessive moisture.
- If desired, disinfect the surface with boiled water or diluted alcohol.
2. Preparing the cutting
- Use orchid cuttings that have at least two visible roots.
- If it was cut from a mother plant, let the cut heal for a day.
- You can sprinkle a little cinnamon powder on the base of the cut to prevent infection.
3. Attach the orchid to the branch
- Place a layer of damp moss on the surface of the log.
- Position the cutting on the moss, ensuring that the roots are in contact.
- Gently wrap with jute twine or natural rope to secure it without damaging the plant.
- Don’t pack it too tightly; the plant needs some room to grow.
4. Aftercare
- Spray water on the moss daily to maintain humidity.
- Place the branch in a location with good indirect light and ventilation.
- Avoid direct sun exposure during peak hours.
- After a few weeks, the plant will begin to take root and will eventually bloom.
Additional tips
- The moss should be kept moist but not soggy to prevent rotting.
- If you live in a dry climate, you can temporarily cover it with a perforated plastic bag to retain moisture.
- This technique can also be done on hanging branches if a decorative effect is desired.
- Avoid moving the branch during the first few weeks to allow the plant to adapt.