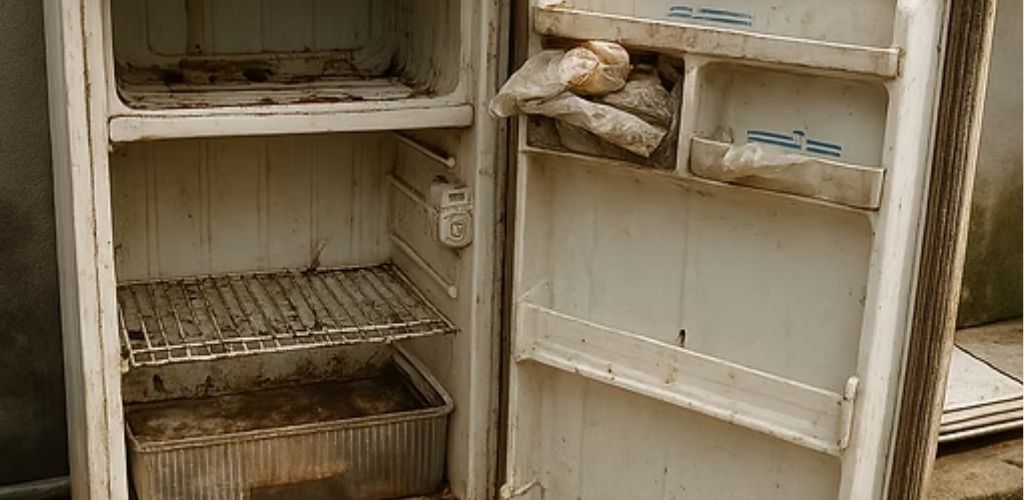
🔧 Complete Restoration of an Old Refrigerator: From Scrap to Like New 🧊
🧱 1. Initial Assessment of General Condition
Before starting any restoration, the condition of the device must be checked:
- Check the model and year of the equipment (sometimes it’s worth restoring it than buying a new one).
- Visual inspection: rust, dents, cut wires, compressor oil leak.
- Basic test: briefly connect it and see if the compressor starts or makes noise.
🔍 Diagnosis: This refrigerator would not turn on, it had rust, broken seals and the compressor was covered in grease.
⚡ 2. Electrical Check and Key Components
- Start capacitor: Use multimeter in capacitance measurement mode (µF).
- Starter relay: take it out and shake it; if it sounds like maracas, it is damaged.
- Thermostat: Check continuity with a multimeter when it is in the ON position.
- Fan motor (if applicable): Test directly with 110V/220V depending on local voltage.
💡 Solution in this case: The relay and capacitor were replaced with new, compatible parts. The thermostat was also replaced with a universal one.
🛠️ 3. Cooling System: Leak and Pressure Check
- Pipe inspection: look for rust, cuts, or poorly done welds.
- Gas leak: apply soapy foam or use nitrogen + pressure gauges.
- Depressurization and recharging:
- Extract the gas with a vacuum pump (if it still has refrigerant).
- Install Schrader valve for rear loading.
- Charge with R134a, R600a gas or the one that corresponds according to the label.
⚠️ Important: This step requires experience, pressure gauges, a scale, and knowledge of working pressure according to the type of refrigerant.
🧽 4. Deep Cleaning and Rust Treatment
- Remove trays, drawers and interior parts.
- Clean with a mixture of hot water, baking soda, and vinegar.
- Sand the rusted parts with 60/120 grit sandpaper.
- Apply rust converter or anti-rust paint (inside and out).
- For the base, use high-strength black paint.
💡 Tip: You can apply electrostatic paint if you want a professional finish.
🚪 5. Replacement or Repair of Weatherstripping and Rubber Seals
- Check the door seals (rubber seals): if they are broken or deformed, the door will lose cold air.
- You can heat the weatherstripping with a dryer to help it regain its shape.
- If they are damaged, replace with universal self-adhesive or compatible weatherstripping.
🔩 6. Mechanical and Structural Review
- Adjust door hinges, loose screws, or broken parts.
- Level the refrigerator using a spirit level and adjust the legs.
- Check if the door closes tightly (place a sheet of paper in front of it: if you can easily pull it off, it doesn’t seal well).
🎨 7. Final Aesthetic Restoration
- Apply paint to the entire body using synthetic enamel or appliance paint.
- Polish the plastic parts with headlight polish or multi-purpose cleaner.
- You can add decorative vinyl decals or extra shelves with acrylic or tempered glass.
🔌 8. Final Functionality Test
- Plug in the refrigerator and measure:
- Time it takes to reach 4 °C in the main compartment.
- Current consumption (normally between 0.8 – 1.2A in small refrigerators).
- Abnormal noises or vibrations.
- Monitor for 12-24 hours to ensure it is working properly.
📈 Expected result: Stable consumption, correct temperatures, no leaks or noise.
An old refrigerator isn’t always trash. With some technical know-how and basic tools, you can revive an appliance and save yourself a lot of money. Plus, you’ll be helping the environment by preventing it from ending up polluting a landfill. 🌎🔋
This restoration is not only a mechanical challenge, it’s also proof that everything can have a second chance. 💪✨