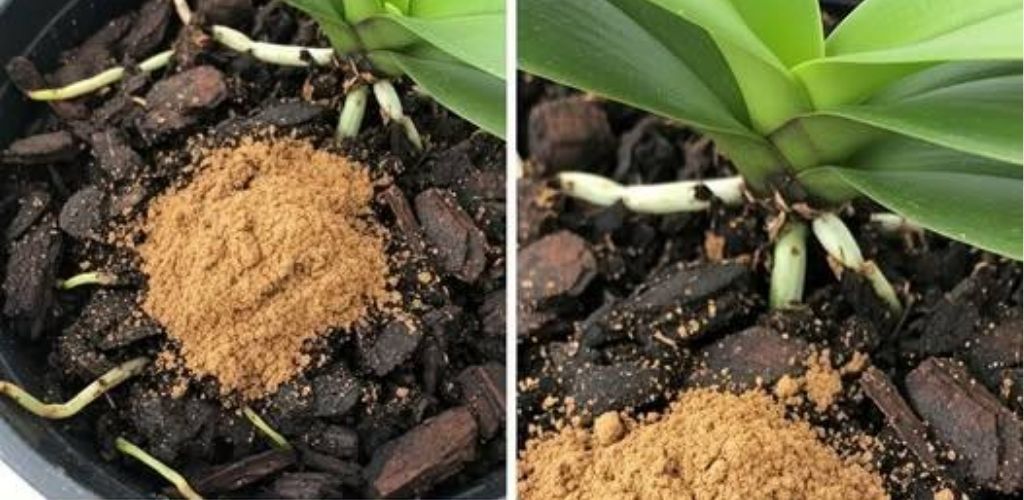
How to save an orchid with root rot and yellow leaves
Orchids are sensitive plants. When the roots rot, their leaves turn yellow. Don’t worry – you don’t have to throw your orchid away right away! With the right care, you can quickly and easily revive it. In this tutorial, I’ll show you an effective method to keep your orchid healthy by removing the rot, promoting root growth, and fertilizing it optimally.
Step 1: Identifying the Cause of Root Rot
Yellowing leaves may indicate root rot. This is usually caused by too much moisture, insufficient drainage, or over-fertilization with inorganic fertilizer. Excess fertilizer in the substrate can burn the roots and lead to their rotting. The first step is therefore to inspect the roots and remove any damaged or rotten parts.
Why is this important?
- Removing rotten roots will prevent the spread of infection.
- Cutting off damaged roots stimulates the formation of new, healthy roots.
Step 2: Removing rotten roots and cleaning the orchid
- Carefully remove the orchid from the pot.
- Inspect the roots and cut off any brown, mushy, or rotten parts with sterilized scissors.
- Rinse the entire plant thoroughly with clean water to remove dirt and bacteria.
Step 3: Disinfect the roots with a baking soda solution
After removing the damaged roots, the remaining healthy roots need to be disinfected.
I wish you health and well-being with herbs! 🌿
If you liked this tip, save it and share it with your friends – you are helping to spread folk medicine and a healthy lifestyle. 💚
Solution preparation:
- Add 1 teaspoon of baking soda to 2 liters of water.
- Mix well.
- Submerge the orchid roots for 10 minutes.
Why baking soda?
- It has antibacterial and antifungal effects.
- It creates an environment unsuitable for mold and rot.
Then let the orchid air dry for a few minutes.
Step 4: Transplanting the orchid into dry moss
- Use dry, sterilized moss as a new substrate.
- Place the orchid in a pot and gently secure the roots in the moss.
- Water lightly once a week – the moss should be moist, not wet.
- Cover the pot with a lid with ventilation holes to maintain the necessary humidity.
- Place the plant in a warm, bright location with indirect sunlight.
Step 5: Orchid Restoration
After two months, the first signs of recovery will appear – new roots and stronger leaves. The leaves may still be a little wilted, indicating a need for nutrients.
Step 6: Preparing rice water fertilizer
Once the orchid has healthy roots, give it a natural fertilizer.
Procedure:
- Add 5 teaspoons of rice to 2 liters of water.
- Let it steep for 30 minutes.
- Drain the rice and use the water as fertilizer.
Why rice water?
- Contains minerals and amino acids that promote growth.
- It strengthens roots and promotes the formation of green leaves.
Step 7: Fertilizing the orchid
- Watering: Pour rice water at the roots every two weeks.
- Spraying: Spray the leaves lightly on both sides.
- Wiping: Gently wipe the leaves with a cotton swab dipped in rice water.
Expected results
With proper care, the orchid will fully recover within a few months: ✅ Healthy, strong roots. ✅ Deep green leaves without yellowing. ✅ New flower stalks with long-lasting flowers.
Orchid Care Tips
- Avoid overwatering – the substrate should be moist but well-drained.
- Place the plant in a location with indirect light.
- Fertilize twice a month with natural fertilizers, such as rice water.
- Check the roots regularly and remove any signs of rot in a timely manner.