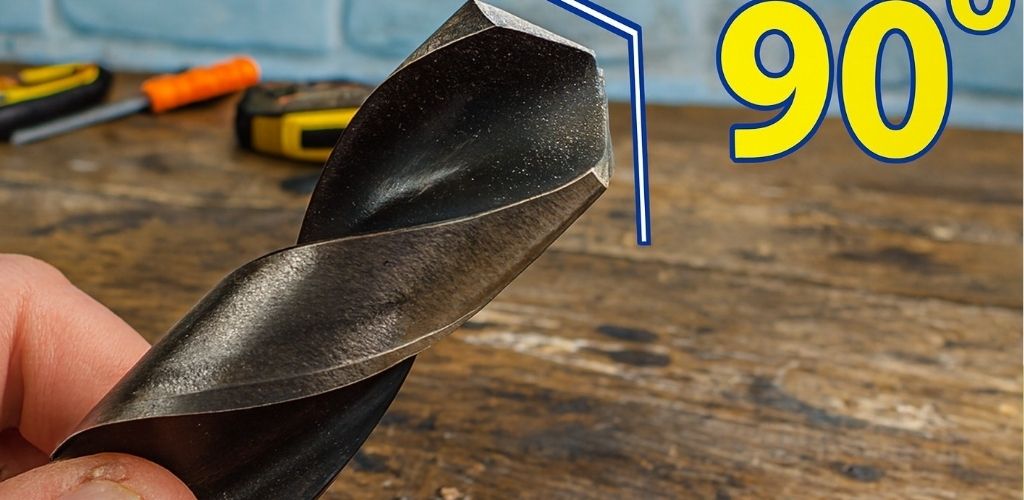
Mastering Drill Bit Sharpening: The Truth About the 90-Degree Hack
In the world of metalworking and DIY, the most common angles for standard twist drill bits are 118° for general purposes (wood, mild steel, aluminum) and 135° for harder materials like stainless steel. So, where does the famous “90-degree hack” come from? The secret lies in a common misunderstanding: when many creators reference “90 degrees,” they aren’t talking about the actual tip angle. Instead, they are using a 90-degree square as a visual reference to ensure symmetry between the two cutting edges. A true 90-degree point would be too sharp and fragile for most metal applications.
The Hidden Geometry of a Perfect Drill Bit
A drill bit is far more than just “two sharp edges at a point.” Professional geometry includes the point angle, the relief (or clearance) angle, symmetrical cutting lips, and the chisel edge. When a bit is sharpened incorrectly, it doesn’t just cut slowly—it vibrates, overheats, and creates oval-shaped holes. Many beginners believe sharpening is simply about making the tool “pointy” again, but the real goal is restoring perfect geometry. Using a visual angular reference helps ensure both lips are identical, which is the absolute key to success.
Why Symmetry Matters More Than the Exact Angle
In a professional workshop, symmetry is the golden rule. If one cutting lip is even slightly longer than the other, the bit will “chatter” and scrape the material rather than slicing through it. This leads to excessive heat buildup and can eventually “burn” the bit, ruining its tempered hardness. While 118° is the technical standard for efficiency and chip evacuation, a slightly different angle that is perfectly symmetrical will almost always perform better than a standard angle that is lopsided. This is why simplified visual methods are so popular among hobbyists.
| Sharpening Aspect | DIY Method (Grinder + 90° Ref) | Professional Sharpening Machine |
| Precision | Good with practice | Extremely High |
| Cost | Low / Free | High Investment |
| Learning Curve | Moderate | Low |
| Consistency | Variable | Constant |
Professional Workshop Tips for Better Results
To get a factory-quality edge at home, follow these expert recommendations that tutorials often skip. First, never let the metal overheat; if the tip turns blue, the steel has lost its temper and will no longer hold an edge. Cool it in water every few seconds. Second, use a permanent marker to paint the tip before you start; this allows you to see exactly where the grinder is removing material. Finally, count your strokes—spend the exact same amount of time on each side to maintain that crucial balance.
The Real-World Difference: Dull vs. Sharp
The impact of a correctly sharpened bit isn’t just marketing; it’s pure physics. Imagine drilling through 3mm structural steel. A dull, rounded bit might take 25 seconds of heavy leaning, creating smoke and a jagged exit hole. A bit sharpened with proper geometry will glide through the same material in 6 to 8 seconds, producing clean, continuous spirals of metal shavings. This efficiency reduces the strain on your drill’s motor, saves electricity, and significantly improves safety by preventing the bit from catching and twisting your wrist.
Final Thoughts: Sharpening as an Act of Resistance
In a “throwaway” culture where tools are replaced rather than maintained, learning to sharpen your own bits is a valuable skill. It is a small school of engineering in your hands, teaching you about metal behavior, patience, and manual precision. Whether you are using a 90-degree square as a guide or a professional jig, the goal remains the same: restoring the tool’s soul. Understanding your equipment is always more rewarding than simply buying a replacement.
Did this guide help you save your old drill bits? We love empowering makers and mechanics with the technical knowledge to master their tools. If you found these tips valuable, please subscribe to our page, give this post a like, and share it with your fellow DIY enthusiasts. Let’s keep the craft alive!
Do you prefer sharpening your bits by hand, or have you invested in a sharpening machine? Have you noticed a difference in your projects since mastering the edge? Let us know in the comments below!