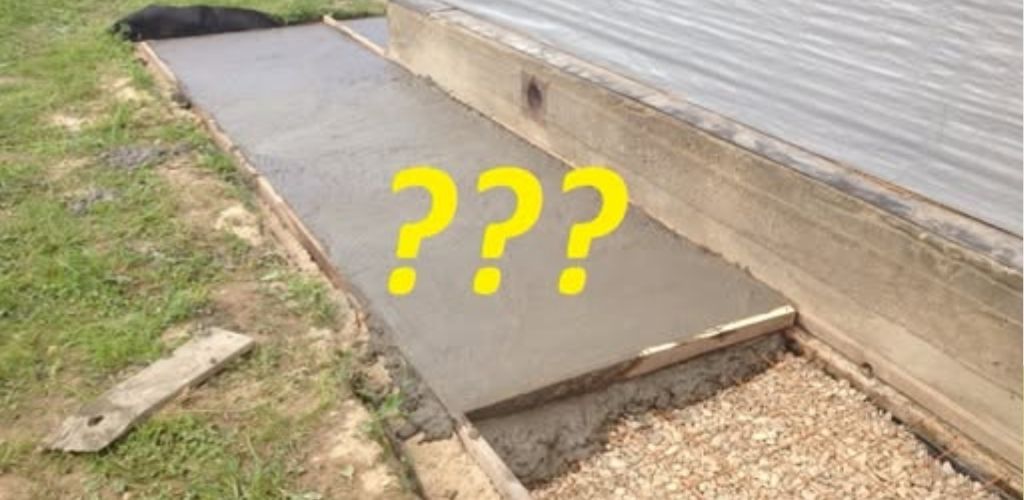
Rethinking the House Apron: Why Concrete Might Be a Waste of Your Money
In old construction manuals, I stumbled upon a fascinating definition of a “house apron” (the perimeter paving around a building). It stated that its primary purpose is to allow a person to walk around the entire house to inspect the load-bearing structures, while drainage was listed only as a secondary function. It’s an interesting perspective, isn’t it? According to the laws of physics, water always seeks the lowest point, but it also spreads laterally depending on soil density. Objectively speaking, the real job of an apron is to lengthen the filtration path of rainwater, directing as much moisture as possible away from the foundation footings to prevent the base from soaking.
The Sacrifice of the Perimeter: Why Aprons are “Doomed” Structures
By design, a house apron is essentially a sacrificial, temporary structure. No matter how much effort you put into it, nature will try to break it. Frost heaving will lift it in winter, and thaws will settle it back down. The apron is intended to protect a much more vital structure—your foundation—at its own expense. Think of it this way: a construction costing $200 is designed to protect a home worth hundreds of thousands. Once I realized this, I stopped obsessing over “perfect” concrete and focused on making something aesthetic, practical, and, above all, simple without sacrificing functionality.
Comparison of Foundation Protection Methods:
| Feature | Traditional Concrete | Flexible PVC Membrane |
| Installation Time | 5–7 Days | 1–2 Days |
| Cost | High (Materials + Labor) | Low (DIY Friendly) |
| Durability | Prone to cracking/heaving | Elastic and frost-resistant |
| Repairability | Difficult/Requires demolition | Easy to adjust or refill |
| Aesthetics | Industrial/Grey | Versatile (Stone, Grass, Tile) |
The Low-Cost Hack: Using PVC Membrane Instead of Concrete
Since the apron is a temporary structure, why pour massive amounts of money into it? Instead of labor-intensive concrete, I opted for a profiled PVC membrane. The entire installation took me just two days. The process is straightforward: dig a trench with a slight slope away from the house (about one spade-depth deep and one meter wide), lay down the membrane, and cover it with crushed stone. This creates a waterproof barrier that directs liquid away from the walls while remaining flexible enough to handle soil movement without showing a single crack.
Finishing Your Apron: Three Stylish Design Options
Once your waterproof layer is down, the top finish is limited only by your imagination. You can choose a style that perfectly matches your home’s exterior:
- Option I: Green Lawns or Flower Beds. Create a “soft” apron by layering crushed stone, fine screenings, sand, and a fertile soil layer for grass or plants.
- Option II: Decorative Stone or Gravel. This is the easiest maintenance-free route. Simply layer cheap crushed stone as a base and top it with beautiful river pebbles or decorative slate.
- Option III: Paving Stones or Natural Rock. For a classic look, place fine screenings over your stone base and lay down tiles, FEM blocks, or flat natural stones.
These methods are far less labor-intensive than reinforcing, mesh-laying, and pouring concrete, yet they look significantly more high-end and modern.
Maintenance and Long-Term Benefits of Flexible Materials
The biggest advantage of a membrane-based system is that it’s “self-healing.” Concrete aprons eventually require patching and crack-filling. A PVC membrane (at least 300 microns thick) is elastic; it has no rigid joints to break, so any minor soil shifts are hidden beneath the finish. Furthermore, if you ever decide to change the landscape level of your yard, you don’t have to break anything with a jackhammer. You simply move the stone or soil, adjust the membrane, and relay your finish. It’s faster, cleaner, and significantly cheaper than traditional masonry.
A Pro-Tip for Soil Preparation
A crucial secret to a lasting apron lies in the soil density. The soil beneath your apron must be the “native” soil (original density) or even denser than the rest of the yard. If the soil under the apron is looser, it will act like a sponge, collecting all the rainwater and snowmelt right where you don’t want it—next to your foundation.
- If native soil is Clay -> use only clay under the apron.
- If native soil is Loam -> use loam or clay.
- If native soil is Sand -> you can use clay, loam, or sand.
Did you find this unconventional construction tip helpful? We want to help you build a smarter, more efficient home without breaking the bank! Please subscribe to our page for more DIY building hacks and expert advice. If you enjoyed this guide, give us a like and share it with your fellow homeowners. Do you have a unique way of protecting your foundation? Let us know in the comments below—we love hearing about your creative solutions!