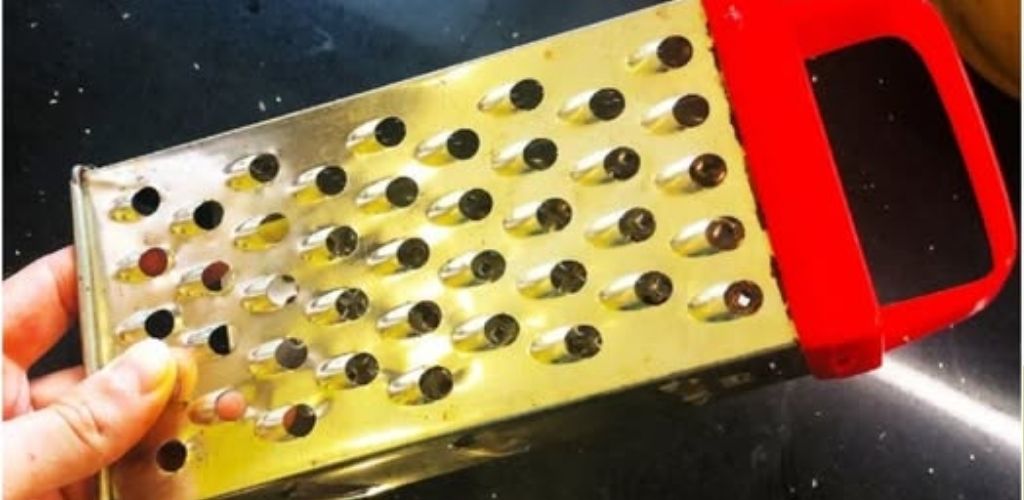
Bring Your Dull Kitchen Grater Back to Life: The 2-Minute Sharpening Hack
Most high-quality kitchen graters only maintain their factory sharpness for about a year or two. After that, the tiny metal teeth begin to dull, and what used to be a simple task turns into an exhausting struggle. Using a blunt grater isn’t just frustrating; it’s actually dangerous. When you have to apply excessive force to push a block of cheese or a carrot across dull blades, you significantly increase the risk of accidental slips and painful finger cuts that take a long time to heal. Before you rush out to buy a new one, try this simple restoration trick.
Why Cheap Replacements Aren’t Always the Answer
While you could easily pick up a budget replacement, most inexpensive graters are made from thin, low-grade stainless steel that loses its edge after just a few uses. On the other hand, professional-grade graters are a real investment. If you own a sturdy, well-built grater that has simply “grown tired,” there is no need to throw it away. You can return it to its original peak performance without any specialized sharpening tools or professional help. All you need is a common piece of ceramic tableware found in almost every kitchen cupboard.
Kitchen Tool Maintenance Comparison:
| Method | Effort Level | Cost | Effectiveness |
| Buying New (Cheap) | Low | $5 – $10 | Low (Dulls quickly) |
| Buying New (Pro) | Low | $30 – $50 | High (Expensive) |
| Ceramic Sharpening | Medium (2 Mins) | Free | High (Restores original edge) |
| Metal File Method | High | $15 | Risky (Can damage teeth) |
The Science of Ceramic Sharpening
The secret behind this hack lies in the abrasive nature of unglazed ceramic. The rough ring found on the bottom of most ceramic mugs and plates acts similarly to a whetstone. By rubbing this hard material against the metal teeth of the grater, you realign the edges and shave off microscopic burrs. The process is incredibly simple: take a ceramic mug and rub the bottom rim against the cutting side of the grater’s teeth. While the sound might be slightly unpleasant, the results are undeniable.
Step-by-Step: How to Sharpen Your Grater Safely
To make the process smoother and reduce the “nails-on-a-chalkboard” sound, dip the bottom of your ceramic mug in a bit of plain water first. This lubrication helps the ceramic glide more effectively while sharpening the metal. Work in small sections, rubbing the ceramic base across the rows of teeth for about two minutes. The amount of time required depends entirely on how dull the blades have become, but a quick session is usually enough to notice a massive difference in cutting performance.
Protecting Your Tableware During the Process
A common concern is whether this hack will ruin your favorite coffee mug. In reality, the ceramic is much harder than the steel of the grater, so the dish remains virtually unharmed. However, to be safe, it is best to use the unglazed bottom rim of a cup where a few minor scuffs won’t be visible. Once finished, give both the grater and the mug a thorough wash to remove any tiny metal filings. Your restored grater will now glide through hard cheeses, ginger, and vegetables with the same ease it did on the day you bought it.
Conclusion: Eco-Friendly Kitchen Maintenance
In a world of disposable products, learning to maintain your existing tools is a win for both your wallet and the environment. This ceramic sharpening method is a perfect example of a low-cost, high-impact life hack that keeps your kitchen running efficiently. By spending just a few minutes every few months on basic tool care, you ensure that your cooking remains a joy rather than a chore. Keep your blades sharp, your fingers safe, and your kitchen budget intact with this tried-and-true household secret.
Did this kitchen hack save your favorite grater from the trash? We are dedicated to bringing you the smartest DIY tips and household secrets to make your life easier and more efficient! Please subscribe to our page for more expert kitchen advice and home maintenance guides. If you found this sharpening trick useful, give us a like and share this post with your friends and family. Do you have a secret way of keeping your kitchen tools in top shape? Let us know in the comments below—we love hearing your creative solutions!