The Ultimate Guide to Perfectly Boiled Eggs: Timing, Tips, and Easy Peeling
Boiling an egg might seem like the simplest task in the kitchen, yet achieving the exact consistency you crave—whether it’s a runny yolk, a jammy center, or a firm hard-boiled finish—can be surprisingly elusive. Many home cooks struggle with cracked shells or the dreaded greenish ring around the yolk. Often, these issues stem from starting with cold water or inconsistent temperatures. By mastering a few basic principles, you can transform this humble pantry staple into a culinary highlight every single morning.
Eggs are a nutritional powerhouse, packed with high-quality protein, essential vitamins, and minerals. They are incredibly versatile, serving as a standalone breakfast, a protein boost for fresh salads, or a key ingredient in savory snacks. Integrating them into your daily diet is a smart move for sustained energy. To get started, you’ll simply need fresh eggs, a lidded pot, a timer, and a bowl filled with ice water for the crucial cooling stage.
Step-by-Step Instructions for Flawless Results
For the best results, try using eggs that are close to room temperature. Introducing a fridge-cold egg into boiling water often causes the shell to expand too quickly and crack. Begin by bringing a pot of water to a rolling boil. Once the water is bubbling, reduce the heat to a gentle simmer. Carefully lower the eggs into the water using a slotted spoon or a ladle; this prevents them from hitting the bottom of the pot and breaking.
Precision is the secret ingredient when it comes to the internal texture of the egg. Once the eggs are safely submerged, turn the heat back up slightly to maintain a steady simmer and start your timer immediately. Avoid a violent boil, as the turbulence can cause the eggs to knock against each other. The following table provides the exact duration needed for every preference:
| Egg Type | Consistency | Cooking Time |
| Soft-Boiled | Runny yolk, set whites | 4–6 Minutes |
| Medium-Boiled | “Jammy” or creamy center | 7–9 Minutes |
| Hard-Boiled | Fully firm and opaque | 10–12 Minutes |
The Importance of the “Ice Bath”
The moment your timer goes off, the cooking process must be halted immediately. Even after you remove eggs from hot water, the residual heat inside the shell continues to cook the yolk. Use a slotted spoon to transfer the eggs directly into a prepared bowl of ice-cold water. This rapid temperature drop, known as shocking, is the most effective way to prevent overcooking and ensure the yolk remains vibrant rather than turning gray.
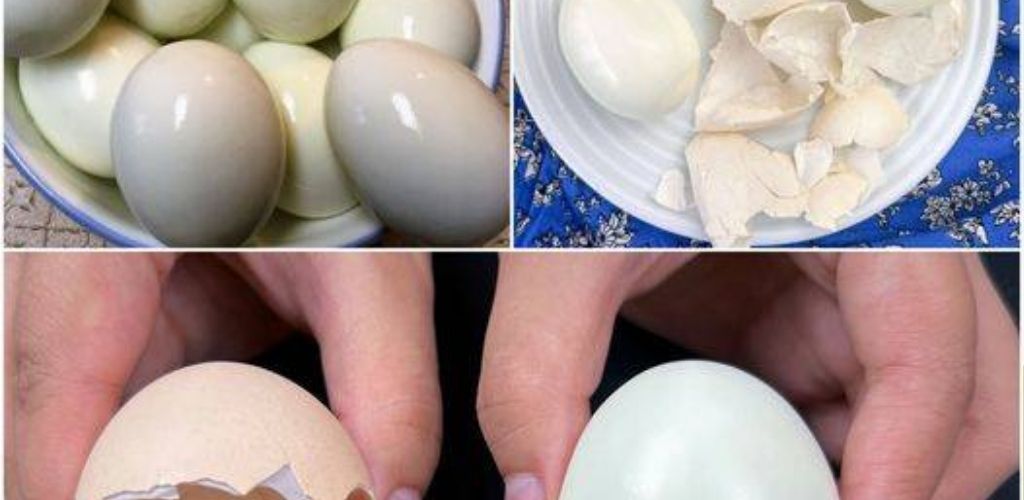
Beyond stopping the cook, the ice bath is the ultimate secret to easy peeling. The cold water causes the egg membrane to shrink away from the shell, making it much easier to remove. Let the eggs sit in the cold water for at least five minutes. When you’re ready to eat, gently tap the shell all over to create a network of small cracks, then peel under a thin stream of running water to help the shell slide right off.
Pro Tips for Success and Storage
If you find that your eggs are consistently difficult to peel, consider the age of your eggs. Interestingly, eggs that have been in the pantry for a week or two are much easier to peel than those straight from the farm. This is because the air cell inside the egg grows over time, creating more space between the membrane and the shell. Once you find a timing that works perfectly with your stove and altitude, stick with it for consistent results every time.
Boiled eggs are the king of meal prep. You can boil a large batch at the start of the week and keep them in the refrigerator for up to seven days. To maintain maximum freshness and prevent them from absorbing other fridge odors, it is best to keep them in their shells until you are ready to consume them. Whether you’re making deviled eggs or a quick protein snack, having a carton of perfectly cooked eggs ready to go is a massive time-saver.
Enjoying the Versatility of the Humble Egg
Perfecting your egg-boiling technique may take a few tries to align with your specific kitchen equipment, but the reward is worth the effort. There is a simple satisfaction in slicing open an egg to find it cooked exactly how you like it. By focusing on temperature control and precise timing, you unlock the full potential of this ordinary ingredient, ensuring a fantastic result with every single batch.
Did you find this guide to the perfect boiled egg helpful? If you want more kitchen hacks, easy-to-follow recipes, and expert cooking tips, make sure to subscribe to our page! Please give this post a “Like” if you’re ready to master your morning breakfast. Share this article with your friends and family so they can say goodbye to overcooked eggs forever! Do you have a secret trick for the perfect soft-boiled egg or a favorite way to season them? Let us know in the comments below—we love hearing your kitchen success stories!