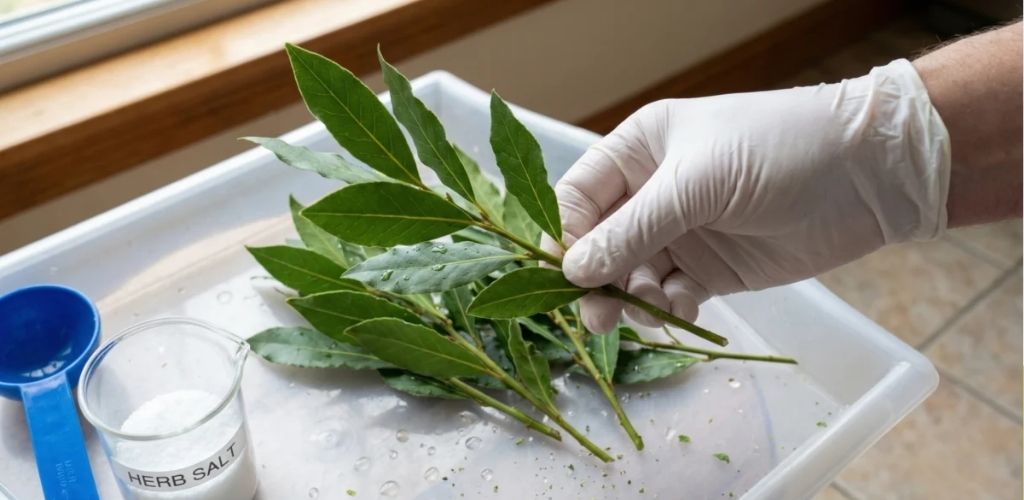
How to Grow Bay Laurel at Home: A Complete Guide to Fresh Bay Leaves
Many home cooks cannot imagine their kitchen without dried bay leaves from the store, but growing your own bay laurel (Laurus nobilis) brings an entirely different level of quality. Fresh leaves hide a secret that will transform your culinary creations and your health in ways that store-bought packets simply cannot match. By growing this noble herb yourself, you ensure an endless supply of aromatic, chemical-free seasoning that is far more potent than the dusty leaves sitting on supermarket shelves.
Why Home-Grown Bay Leaves Outshine Store-Bought
Store-bought bay leaves often sit in plastic bags for months, losing their essential oils and distinctive aroma long before they reach your pot. In contrast, a fresh leaf from your own plant is incomparably intense; just one small leaf can fill your entire kitchen with a royal fragrance. Furthermore, domestic cultivation gives you total control over the purity of your spices, ensuring no aggressive pesticides enter your family’s meals. Beyond the kitchen, this evergreen shrub serves as a luxurious Mediterranean decoration for your balcony or interior.
Winter Care and Propagation Secrets
Bay laurel originates from warmer climates, meaning it cannot survive freezing winter temperatures in the ground in many regions. To keep your plant healthy, you must provide a period of dormancy between 5°C and 10°C in a bright, cool room. While growing from seeds is an option, it is notoriously slow and unreliable. The most effective way to expand your collection is through cuttings taken between April and August when the plant’s vital energy is at its peak.
Propagation and Growth Requirements at a Glance
| Feature | Requirement | Why It Matters |
| Best Time for Cuttings | April to August | Maximum energy for root development |
| Winter Temperature | 5°C to 10°C | Ensures necessary dormancy period |
| Substrate Mix | Peat, Sand, and Perlite | Prevents root rot through drainage |
| Rooting Time | 4 to 8 weeks | Requires patience and high humidity |
Step-by-Step Guide to Rooting Bay Laurel Cuttings
To start your own plant, select a slightly woody but flexible shoot approximately 6 to 9 centimeters long. Cut the bottom at a 45-degree angle to maximize water absorption and stimulate root growth. Remove the lower leaves and trim the top leaves in half; this crucial step reduces water evaporation while the cutting is rootless. For the best results, dip the base in a rooting hormone and place it in a well-draining mix of peat and perlite. Ensure the pot has excellent drainage to prevent water from pooling at the bottom.
Creating the Ideal Micro-Environment for Growth
During the initial rooting phase, bay laurel thrives in high humidity. You can create a “mini-greenhouse” by covering your pot with a clear plastic bag or a cut-off bottle. Keep this setup in a warm spot (22°C to 26°C) but away from direct sunlight, which could overheat the young shoots. Vent the cover daily to prevent mold. Once you see new, light green leaves appearing, it is a clear signal that the root system has successfully established, and you can begin transitioning the plant to normal conditions.
Long-Term Maintenance and Health Benefits
As your bay laurel grows, regular pruning will encourage a bushier, more attractive shape. These trimmings can be used immediately or dried in a shady, airy spot to preserve their color. Beyond flavor, bay leaves offer significant health benefits: an infusion can aid digestion, while the essential oils possess antibacterial properties. Even burning a dry leaf can create a relaxing, stress-relieving atmosphere in your home. With a little care and the right winter rest, your bay laurel will provide health and flavor for years to come.
Are you ready to bring a taste of the Mediterranean into your home? We regularly share professional herb-growing hacks, organic gardening secrets, and DIY health remedies! To stay updated and never miss a green-thumb tip, make sure to SUBSCRIBE to our page. Give us a LIKE if you love fresh home-grown spices, and SHARE this post with your fellow foodies and gardeners. Do you have a bay laurel plant at home already? Tell us your success stories in the comments below—we would love to hear from you!