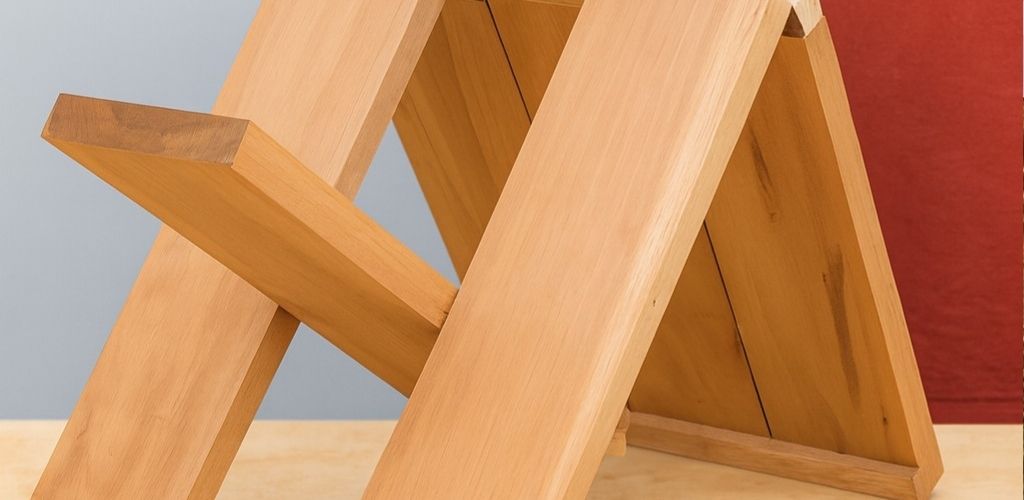
What is this invention and why does it work so well?
This is a wooden support stand designed to facilitate cutting, clamping, assembly, and other tasks that typically require precision or a third hand. Its design is minimalist: wooden slats, a few screws, a couple of hinges, and a structure that adapts to different tasks.
What this 65-year-old carpenter taught is that true usefulness comes from simple ideas , those that can be made with accessible materials and that withstand daily use.
This homemade tool is used for:
- Hold long boards while cutting.
- Keep pieces elevated without them moving.
- To act as an auxiliary bench or small easel.
- To serve as a support for sanding, milling or assembly.
And the best part: when finished, it folds up and can be stored in any space .
Materials needed
This project is designed so that anyone can do it:
- Wooden slats (pine, eucalyptus or recycled).
- Wood screws.
- 2 metal hinges.
- Optional glue to reinforce joints.
- Hand saw or electric saw.
- Drill or screwdriver.
- Sandpaper.
With these few tools you can build a piece that will serve you for years.
Step-by-step instructions for making this invention
1. Cut the legs and main pieces
Cut four strips of equal length to form the legs.
Then prepare two additional strips for the top, which will be the supporting surface.
The size can vary depending on your needs, but the key is to maintain balanced proportions to ensure stability.
2. Assemble the side frames
Join each pair of legs with a horizontal slat placed halfway up.
This will prevent the structure from opening or closing too much.
Screw the pieces together securely and check that all joints are tight.
3. Attach the hinges
Position the two frames facing each other.
On the top, attach the hinges so that the frames can be opened like a folding easel.
This step is the secret that makes the invention compact, durable, and easy to store.
4. Add the support surface
Screw the two strips that will serve as a side table onto the top of the frames.
Leave a small gap between them to allow for sawing without damaging the structure.
5. Add stability crossbars
Add one or two lower crossbeams to reinforce the assembly.
This greatly increases stability, especially if you’re working with heavy pieces.
6. Sanding and finishing
Sand the entire structure to prevent splinters.
Optionally, you can apply oil or varnish to protect the wood from daily use.
What makes this invention special?
What this 65-year-old carpenter taught is not just a DIY trick, but a way of thinking:
creating your own tools from simple materials .
This invention combines:
- Utility
- Low cost
- Easy to manufacture
- Smart design
It is an ideal project for both beginners and woodworking enthusiasts.