How to Boost Tomato Growth with a Homemade Yeast Fertilizer: The Secret Recipe for a Bumper Harvest
Every home gardener dreams of harvesting heavy, dark-red, juicy tomatoes directly from the vine. However, getting your freshly transplanted seedlings to transition smoothly into the garden soil can sometimes be a challenge. If your plants look a bit stagnant or tired after transplanting, you do not need to reach for expensive chemical fertilizers. Instead, you can look inside your kitchen pantry. A simple, budget-friendly, and completely organic yeast fertilizer can jumpstart your tomato plants’ growth, triggering visible development just a couple of days after the very first application.
The Science Behind the Soil: Why Yeast and Tomato Paste Work Wonders
To understand why this traditional gardening hack is so incredibly effective, we have to look at the biological relationship between fungi and soil microbiology. Baker’s yeast (Saccharomyces cerevisiae) is not just for baking bread—it is an absolute powerhouse of essential vitamins, minerals, amino acids, and active enzymes. When introduced to your garden bed, yeast acts as a powerful biostimulant rather than a traditional plant food. It wakes up the beneficial microorganisms already living in the soil, accelerating the decomposition of organic matter and making locked-up nutrients immediately available to your tomato roots.
The addition of tomato paste, jam, or plain sugar serves a very specific purpose in this recipe. Yeast fungi require simple carbohydrates to wake up from their dormant state and begin multiplying. Tomato paste is an exceptional choice because it provides the perfect sugar “fuel” to initiate the fermentation process, while simultaneously contributing trace micronutrients that tomato seedlings naturally crave. By activating the mixture before pouring it onto your garden bed, you are essentially delivering a live, thriving army of beneficial biology directly to your soil.
The Ultimate Homemade Yeast Fertilizer Recipe
Creating this organic growth booster at home takes less than half an hour and requires only three everyday ingredients. The following chart outlines the exact components you will need to assemble your concentrated starter mixture.
Organic Tomato Fertilizer Ingredients:
| Component | Required Amount | Ideal Specifications | Primary Function |
| • Fresh Yeast | 100 grams | Compressed cake yeast (or equivalent dry yeast) | Supplies vitamins, amino acids, and stimulates soil microbes |
| • Tomato Paste / Sugar | 2 tablespoons | Organic paste or any sugary jam | Acts as the starter fuel to trigger rapid fermentation |
| • Warm Water | 0.5 liters | Temperature between 35°C and 40°C | Activates the yeast fungi without damaging the living cells |
Step-by-Step Preparation and Dilution Guide
- Activate the Starter: Pour your half-liter of warm water into a small bucket or jar. Ensure the water is comfortably warm but not hot, as temperatures above 45°C will kill the live yeast cultures. Thoroughly dissolve your two tablespoons of tomato paste, jam, or sugar into the water.
- Mix in the Yeast: Crumble the 100 grams of fresh yeast into the sweet liquid, stirring gently until the mixture reaches a completely smooth, uniform consistency.
- Let it Ferment: Set the container aside in a warm, shaded spot for 20 to 30 minutes. You will know the mixture is ready when a thick layer of frothy bubbles begins to form on the surface, indicating that the fermentation process is officially active.
- First Dilution: Pour this bubbly concentrate into a large watering can or bucket containing 10 liters of warm water, stirring well to combine.
- Final Dilution for Feeding: Right before you step out into the garden, perform the final dilution step. Mix exactly 1 liter of this blended solution with 5 liters of clean, ambient-temperature water. Your nutrient-dense fertilizer is now ready for application.
Application Rules: How and When to Feed Your Tomatoes
Timing and technique are everything when applying homemade organic fertilizers. The absolute best time to introduce this yeast feeding is roughly 4 to 5 days after you have transplanted your tomato seedlings out into their permanent garden beds or patio containers. This gives the delicate roots a few days to settle out of transplant shock before receiving a biological boost. If your garden soil happens to be completely dry, always make sure to lightly pre-water the root zones with clean water before feeding, as wet soil allows the liquid nutrients to distribute much more evenly.
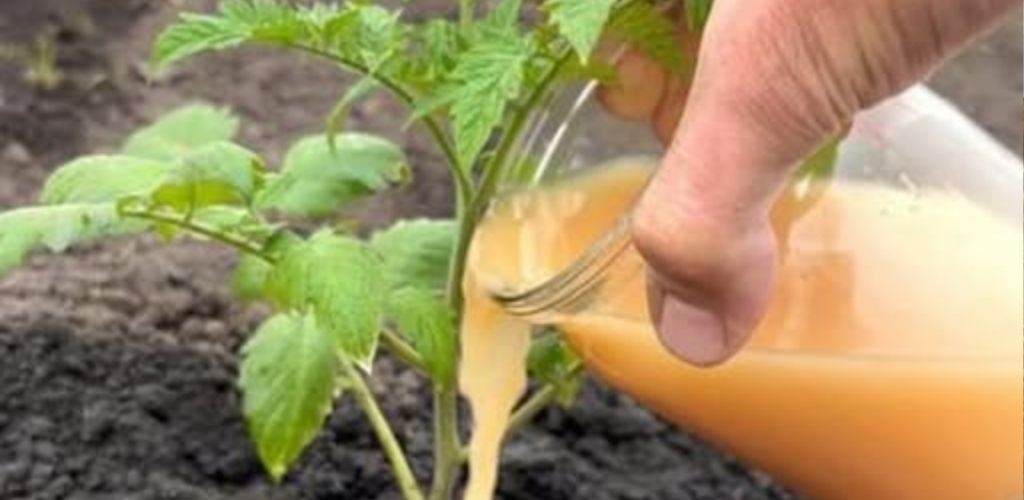
When applying the solution, aim for a generous ratio of 1 liter of the final diluted mixture poured directly around the base of each individual tomato bush. For an extra element of protection, you can pour a small amount of the liquid into a spray bottle and lightly mist the foliage. Foliar feeding allows the plant to absorb trace amino acids directly through its leaves, boosting its immune system and creating a natural barrier against common fungal issues like early blight.
By incorporating this simple, natural feeding routine into your early-season garden care, you will completely transform the trajectory of your crop. Within just a few days, you will notice the tomato stems thickening up, the leaves taking on a vibrant, deep-green hue, and the root systems expanding rapidly beneath the surface. Providing your plants with this strong, vibrant start guarantees that they will build the structural framework necessary to support an abundant, heavy harvest of delicious tomatoes later in the summer.