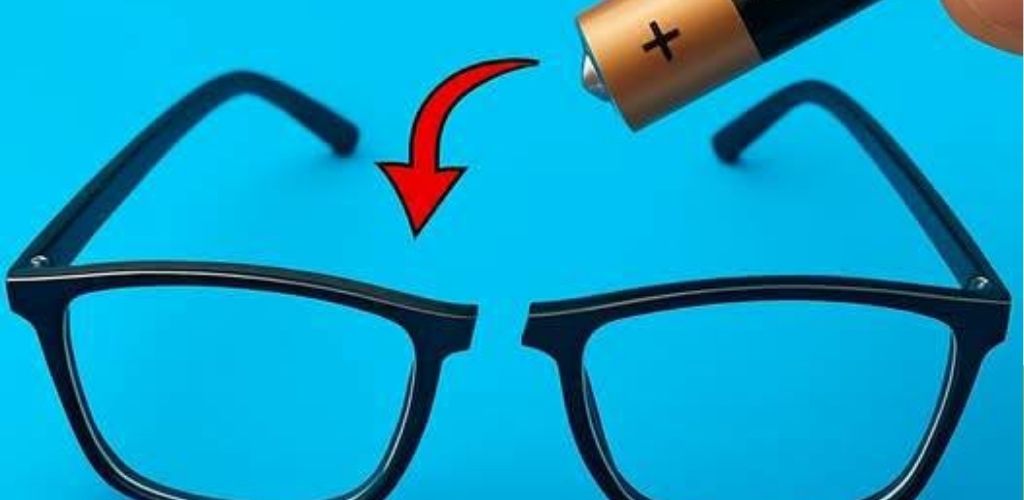
When glasses break, especially on the bridge or frame, most people think they’re beyond repair or that a replacement will cost a fortune. However, there’s a practical and inexpensive DIY method that can restore their stability, strength, and a near-original appearance.
Below you will find a detailed guide to repairing plastic glasses using simple tools that you probably already have at home.
1. Initial preparation and protection of the lenses
Before starting any repairs, it’s essential to remove the temples of the glasses. These screws are small, but they come out easily with a thin screwdriver.
Next, to prevent scratches or smudges on the lenses during the process, cover them with folded tissue paper and secure it with small clips. This step helps keep them clean while you work on the most delicate part: the broken bridge.
2. Alignment and fixing of the damaged area
Place the two frame pieces on a firm surface (such as a wooden board) and carefully align the break so that the joint is precise. Use masking tape to hold both pieces in place.
Once they are fixed, apply a few drops of instant glue to the joint, just enough to give an initial hold without creating excess material.
3. Internal reinforcement with staples and welding machine
To ensure that the frame regains strength, a little-known but very effective trick is used: integrating small pieces of metal staples.
To do this:
- Cut sections out of the center of a staple.
- Place each piece directly over the break area.
- Using a hot soldering iron, gently melt the plastic around the staple so that it embeds itself and is firmly attached.
This internal reinforcement acts as a metal “bridge” that prevents the frame from breaking easily again.
4. Reinforcing the exterior with graphite and glue
Graphite, obtained by scraping the inside of a pencil, can be mixed with glue to create a tough layer that further strengthens the repair.
The procedure is simple:
- Apply a layer of glue to the joint.
- Sprinkle graphite powder over the entire area.
- Add another layer of glue on top.
- Repeat this process on all surfaces where necessary.
The result is a more robust and stable bond.
5. Sanding to smooth and even out the surface
To correct any excess material and leave the frame even, you can create a homemade sanding tool by wrapping a pen with sandpaper. Use coarse grit sandpaper first to level the surface, and then fine grit sandpaper (such as P800) for finishing.
Lightly dampen the area before sanding to achieve a smoother, more controlled smoothing.
6. Painting and final finishing
To make the repair go unnoticed:
- Spray some spray paint inside a jar.
- Use a cotton swab to carefully paint the repaired area.
- Make sure to cover the entire surface and maintain a uniform color.
When the paint is dry, put the tabs back in place and tighten the screws.
Finally, clean the lenses with a soft cloth and you’ll see that the glasses look almost like new.
Tips and recommendations
- Avoid using too much glue , as it can create lumps that are difficult to sand.
- Work in a well-ventilated area , especially when using spray paint.
- If your glasses are high-value , consider trying the method first on an old frame to gain confidence.
- Graphite powder works as a reinforcement , but you can also use baking soda or talc if you don’t have it on hand.
- Be patient when aligning the frame , because poor alignment will be noticeable even after painting.
Repairing broken glasses is entirely possible with simple materials and a little dedication. Reinforcing them with staples, graphite, and a good finish can restore the frame’s strength and give it a look very similar to the original. It’s an economical, effective, and perfect solution for those who enjoy DIY repairs.