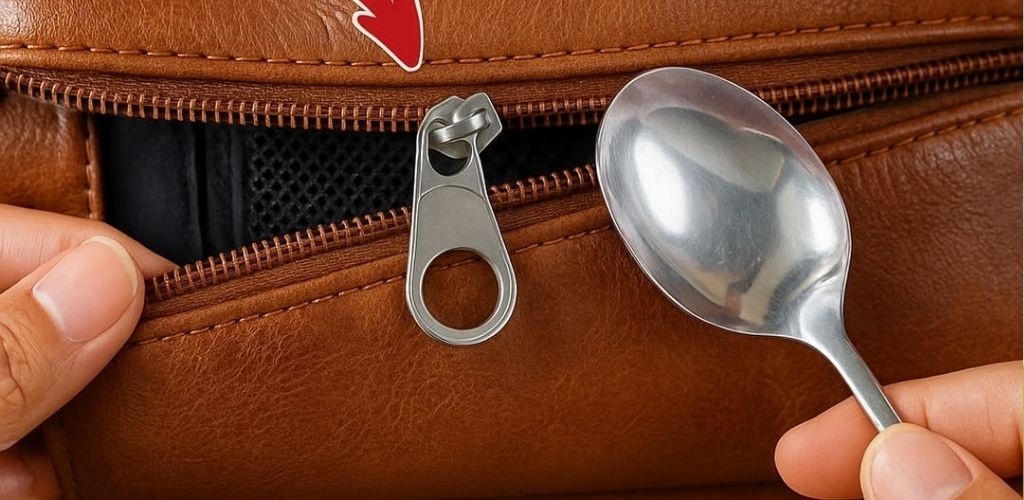
Zippers are one of the most frequently used parts of backpacks, handbags, wallets, travel cases, and clothing. Precisely because of their constant use, they are also one of the parts that most often fail over time. Before discarding a favorite accessory or paying for a professional repair, it’s worth knowing a simple method that allows you to restore the zipper’s functionality in less than a minute.
Why do zippers fail with use?
Zippers consist of three main parts: the teeth, the slider (also called the carriage or slider), and the stops. Over time, the metal slider tends to loosen due to constant friction, causing the teeth to no longer engage properly. This results in the zipper opening on its own, not closing completely, or becoming misaligned.
Other common problems include:
- Teeth crooked from sudden pulls.
- Accumulation of dust, lint or dirt between the teeth.
- Fabric stuck inside the slider.
- Lack of lubrication, which increases resistance to sliding.
Identifying the type of failure is fundamental to applying the correct solution, as not all zippers require the same procedure.
The pliers method: a quick and effective repair
When the problem is that the clasp opens on its own after being passed through or doesn’t engage the teeth, in most cases it’s because the slider has widened from use. The solution is to gently adjust this metal piece so that it engages the teeth correctly again.
Materials needed
- Flat-nose pliers or tweezers.
- A soft cloth (optional, to protect the slider).
Step by step
- I opened the zipper completely and separated the slider from the teeth in the area where it is failing.
- Identify the sides of the slider. The slider has two side openings through which the teeth of the zipper pass.
- Apply light pressure with the pliers to both sides of the slider, first on one side and then the other. The idea is to close the gap slightly, without crushing the piece.
- Test the closure. Slide the cart from one end to the other to check if the teeth are properly engaged. If they still separate, apply a little more pressure.
- Repeat until you achieve the desired fit. It’s best to do it gradually to avoid damaging the metal.
This procedure is ideal for backpacks, handbags, toiletry bags, pencil cases, and outerwear. In less than a minute, the zipper works like new again.
Other solutions depending on the type of problem
When the zipper is stuck
If the slider doesn’t move, avoid forcing it. Instead, apply a household lubricant such as a bar of soap, a graphite pencil (rubbing the tip against your teeth), vegetable oil, or candle wax. Then, gently move it back and forth until it releases.
When there is stuck fabric
Carefully grasp the trapped fabric and move it away from the slider while trying to release the zipper with your other hand. Patience is key, as pulling too hard can tear the fabric or misalign the teeth.
When teeth are misaligned
If one or more teeth are bent, use pliers to carefully straighten them. If teeth are missing at the top of the zipper, you can replace the bottom stop or sew on a new one to prevent the slider from coming off.
Tips to extend the lifespan of your zippers
- Avoid overloading backpacks and bags. Excess weight puts strain on your teeth.
- Always zip the accessory completely before storing it.
- Clean the zippers with a soft brush every so often to remove dust and lint.
- Apply lubricant occasionally to maintain smooth sliding.
- Do not pull abruptly when opening or closing; use both hands when the closure offers resistance.
An economical and sustainable solution
Learning to repair zippers at home not only saves money but also helps reduce waste. Many bags, backpacks, and garments end up discarded due to a minor problem that can be fixed in seconds with basic tools. This practice is part of a growing trend toward conscious consumption and repairing everyday items instead of immediately replacing them.
With pliers, a little patience, and the steps described, you can restore the functionality of any zipper and extend the life of your favorite accessories. The next time a zipper fails, before you think about throwing away your bag or taking it to be repaired, it’s worth trying this DIY solution that anyone can do.