Why You’ll Love This Recipe
There’s so much to adore about making your own bread at home. Here’s why it’s a must-try:
- Simple Ingredients : All you need is flour, water, yeast, salt, and a little oil—no fancy equipment required.
- Cost-Effective : Save money by skipping store-bought bread and using pantry staples.
- Healthier Option : Control what goes into your bread—no preservatives, additives, or unnecessary sugar.
- Fresh and Flavorful : Nothing beats the aroma and taste of freshly baked bread straight from the oven.
- Customizable : Experiment with herbs, seeds, or grains to create your perfect loaf.
Ingredients You’ll Need
The secret to this homemade bread lies in its simplicity. Here’s what you’ll need:
For the Bread:
- 3 cups all-purpose flour (plus extra for dusting)
- 1 packet (2 1/4 teaspoons) active dry yeast
- 1 teaspoon salt
- 1 tablespoon sugar (optional, for a touch of sweetness)
- 1 cup warm water (about 110°F/43°C)
- 2 tablespoons olive oil (or melted butter for extra richness)
Step-by-Step Instructions
Ready to whip up your own fresh, homemade bread? Follow these easy steps:
Step 1: Activate the Yeast
- In a small bowl, combine the warm water, sugar, and yeast. Stir gently and let it sit for 5–10 minutes, or until frothy. This means the yeast is active and ready to go.
Step 2: Make the Dough
- In a large mixing bowl, combine the flour and salt.
- Add the activated yeast mixture and olive oil to the dry ingredients. Mix until a shaggy dough forms.
Step 3: Knead the Dough
- Turn the dough onto a lightly floured surface and knead for 8–10 minutes, until smooth and elastic. Alternatively, use a stand mixer with a dough hook on low speed for 5–7 minutes.
- The dough should be soft, slightly sticky, but manageable. Add a little more flour if needed, but avoid over-flouring.
Step 4: First Rise
- Lightly grease a large bowl with oil or cooking spray. Place the dough in the bowl, turning it once to coat with oil.
- Cover the bowl with a clean kitchen towel or plastic wrap and let it rise in a warm place for 1–1.5 hours, or until doubled in size.
Step 5: Shape the Loaf
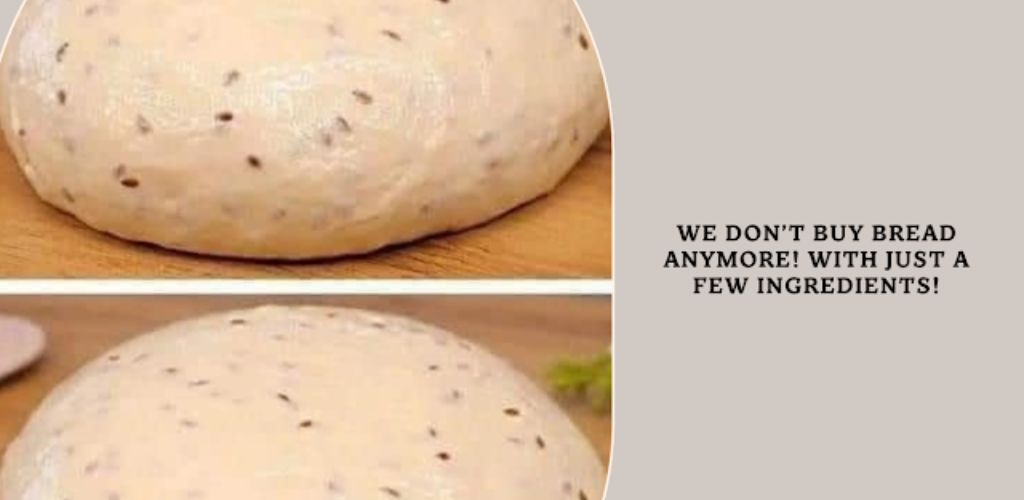
- Punch down the risen dough to release air bubbles. Turn it onto a lightly floured surface and shape it into a round or oblong loaf.
- Place the shaped dough on a baking sheet lined with parchment paper or into a greased loaf pan for a traditional shape.
Step 6: Second Rise
- Cover the shaped dough with a towel and let it rise again for 30–45 minutes, or until puffy.
Step 7: Bake the Bread
- Preheat your oven to 375°F (190°C) .
- Optional: Slash the top of the loaf with a sharp knife or razor blade to allow for expansion during baking.
- Bake for 25–30 minutes , or until the bread is golden brown and sounds hollow when tapped on the bottom.
Step 8: Cool and Enjoy
- Transfer the bread to a wire rack and let it cool completely before slicing.
- Slice and serve with butter, jam, or your favorite toppings. Enjoy the aroma and flavor of freshly baked bread! 🍞✨
Why This Recipe Works So Well
The magic of this homemade bread lies in its simplicity and versatility.
The yeast creates a light, airy texture, while the minimal ingredients ensure a pure, wholesome flavor.
The process of kneading and rising develops gluten, giving the bread its structure and chewiness.
And the final result—a warm, crusty loaf—is as satisfying to make as it is to eat.
Variations to Try
While the classic version is divine, here are some creative ways to switch things up:
- Herb Bread : Add dried rosemary, thyme, or oregano to the dough for a savory twist.
- Seeded Bread : Sprinkle sesame seeds, poppy seeds, or oats on top before baking for added texture and flavor.
- Whole Wheat Option : Substitute half or all of the all-purpose flour with whole wheat flour for a heartier loaf.
- Cheesy Garlic Bread : Fold shredded cheese and minced garlic into the dough for a rich, indulgent treat.
- Sweet Bread : Add cinnamon and raisins for a sweet, breakfast-friendly loaf.
Tips for Success
- Use Fresh Yeast : Ensure your yeast is fresh and within its expiration date for the best rise.
- Knead Thoroughly : Proper kneading develops gluten, which gives the bread its structure and texture.
- Don’t Skip the Rises : Allowing the dough to rise fully ensures a light, airy loaf.
- Save Leftovers : Store cooled bread in a paper bag or bread box for up to 2 days. Freeze slices for longer storage.
- Make Ahead : Prepare the dough ahead of time, refrigerate overnight, and bake in the morning for fresh bread anytime.
Serving Suggestions
This homemade bread is incredibly versatile and pairs well with a variety of meals and occasions. Here are some ideas to enhance your experience:
- Breakfast Favorite : Serve toasted with butter, jam, or avocado for a hearty start to the day.
- Lunch or Dinner Staple : Use it for sandwiches, burgers, or alongside soups and salads.
- Brunch Delight : Include it on a brunch spread alongside quiches, frittatas, and fresh fruit.
- Pairing Perfection : Pair with a glass of wine, coffee, or tea for a complete dining experience.
- Gift Idea : Wrap a loaf in decorative paper or a cloth bag for thoughtful homemade gifts.
Final Thoughts
With its simple ingredients, straightforward process, and unbeatable flavor, homemade bread is a game-changer for anyone who loves fresh, wholesome food. Whether you’re hosting a gathering, celebrating a special occasion, or simply craving something warm and comforting, this recipe delivers big on taste and satisfaction.
So, the next time you’re in the mood for fresh, crusty bread, skip the store and try making it at home. Trust us—it’s quick, easy, and absolutely divine!
Have you tried this recipe yet? Share your thoughts, tips, and variations in the comments below. Happy baking! 🍞✨